
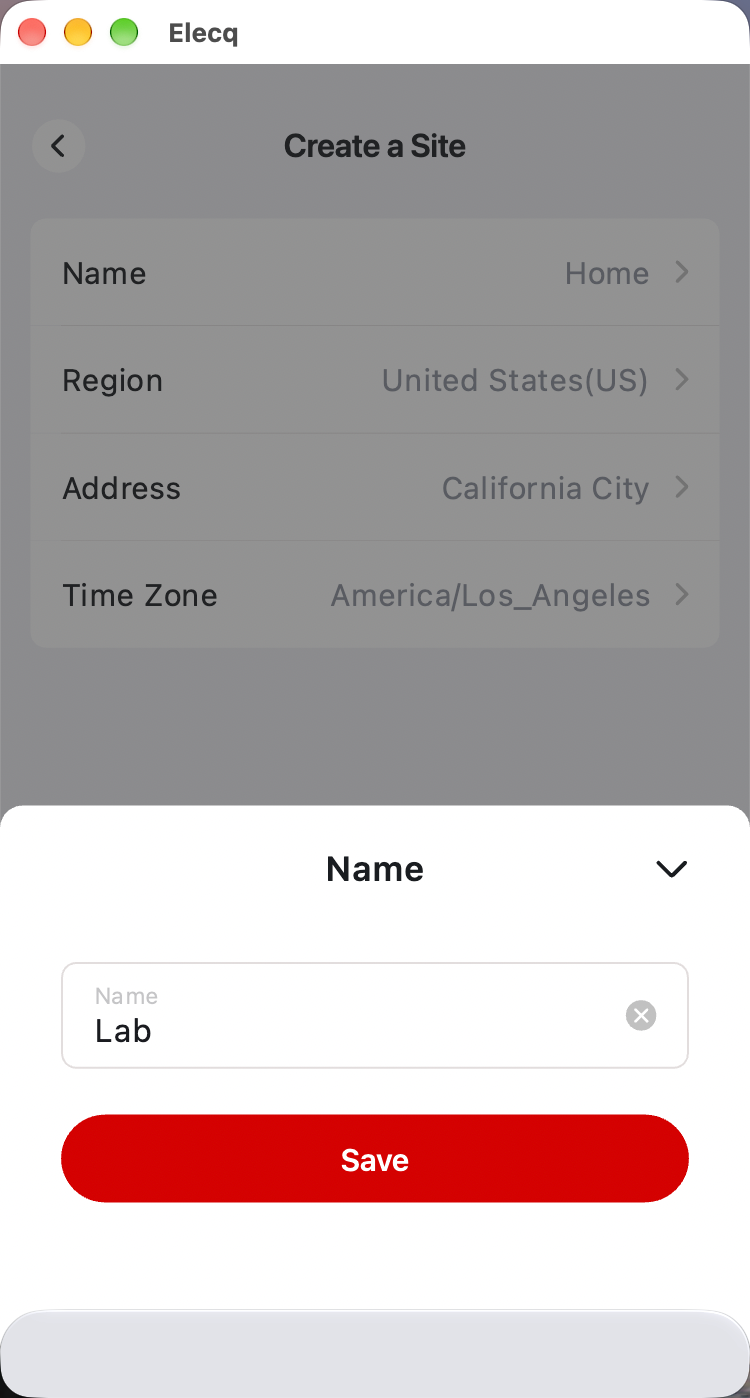
Name
Enter a name you’ll recognize, then tap Save.
Connect your charger and manage access from the Elecq app.
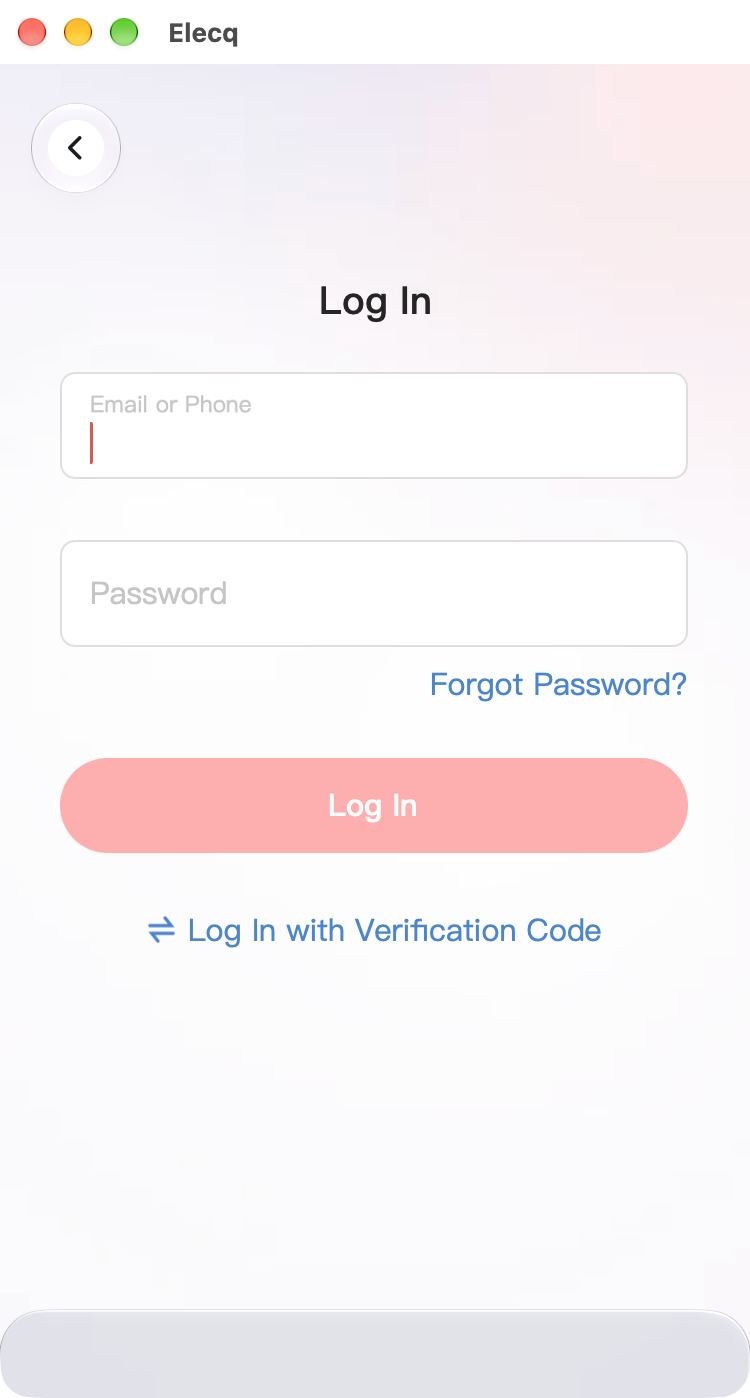
Start on the Site tab after signing in. Keep your phone near the charger with Bluetooth turned on, and have the charger PIN ready. The rings mark where to tap.
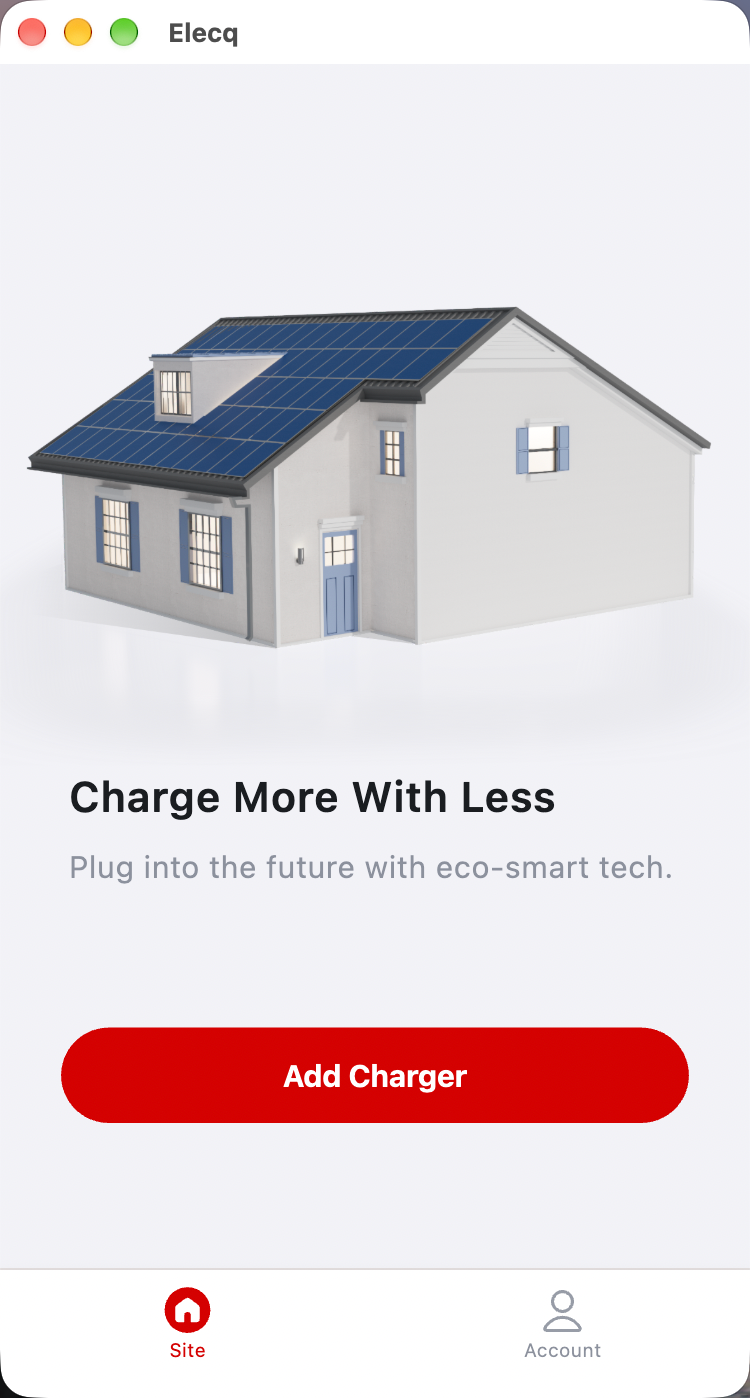
On the Site tab, tap Add Charger.
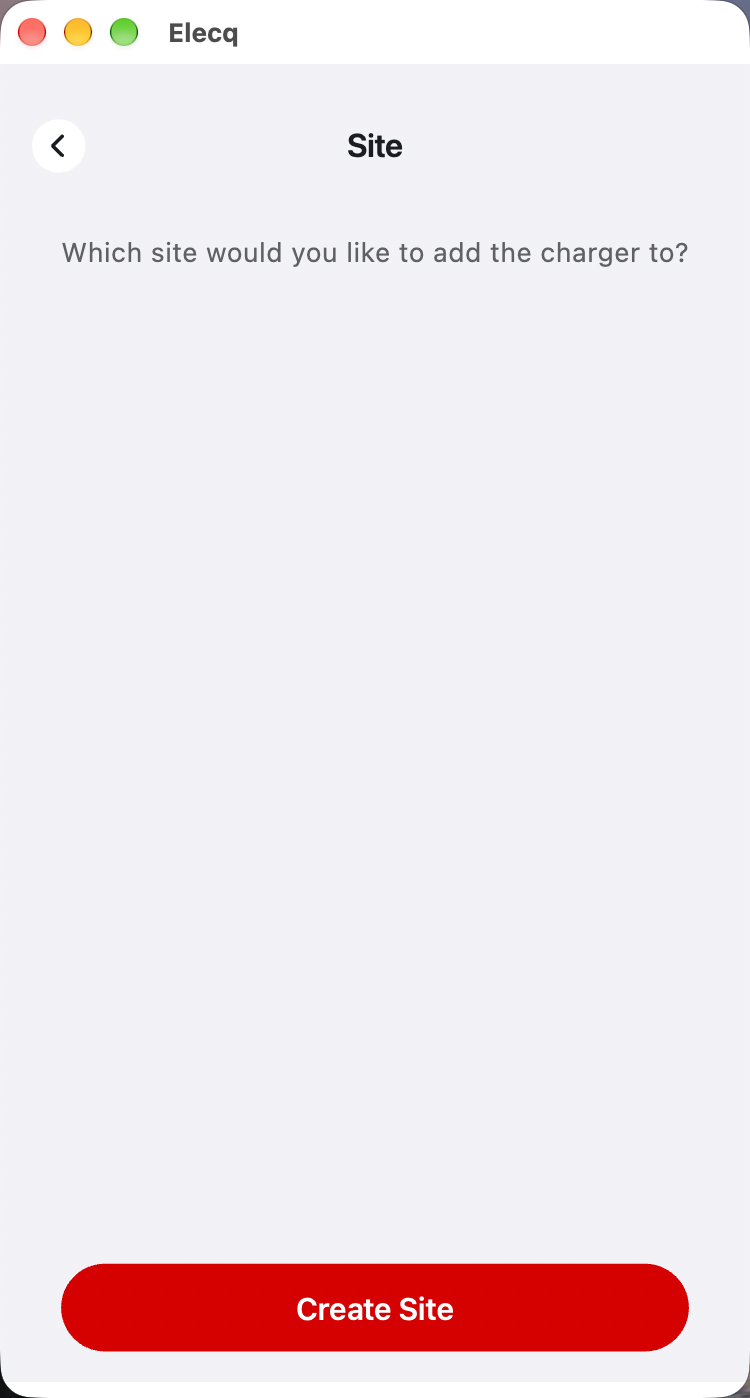
Tap Create Site to set up the location for your charger.
Choose a field to see its details. You can edit the four fields in any order.
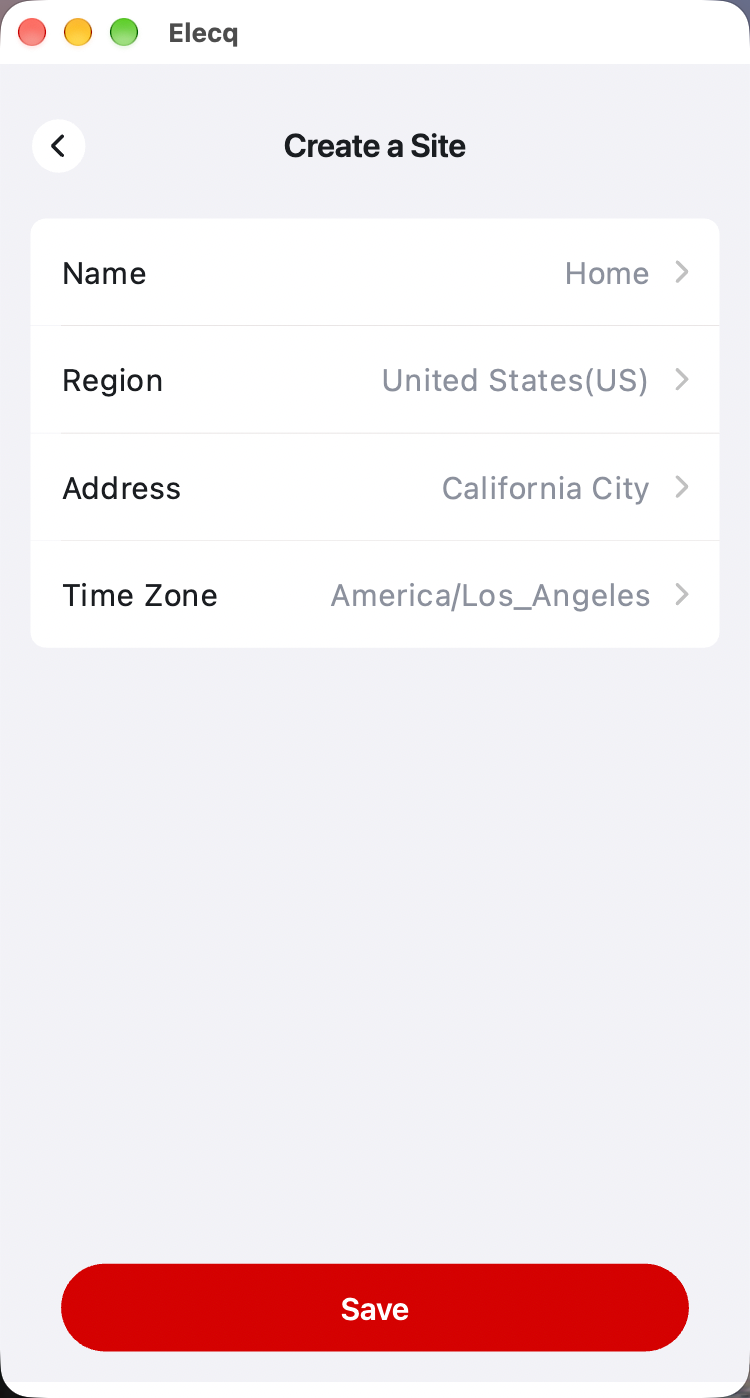
Enter a name you’ll recognize, then tap Save.
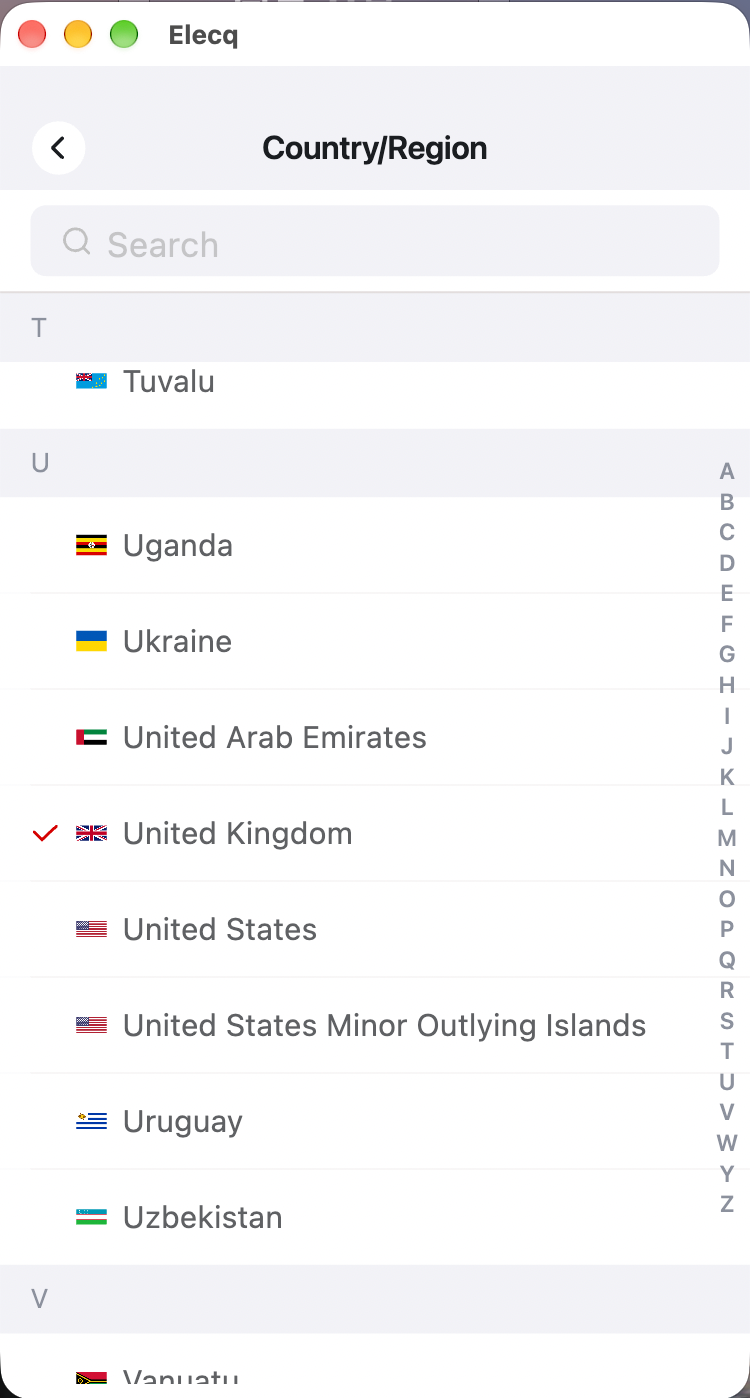
Open Region and select the country or region where the charger is installed.
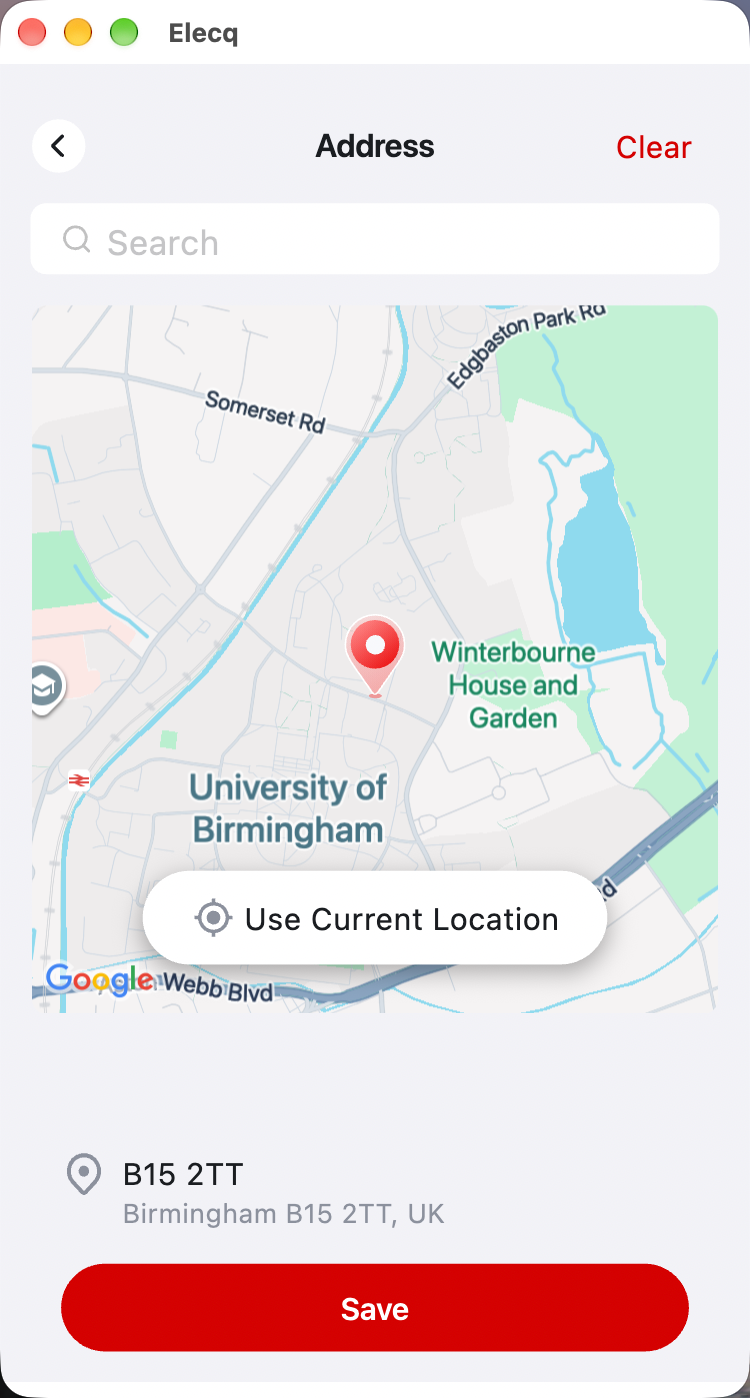
Open Address. Search for the installation address or use your current location if you’re at the site. Check the result and tap Save.
Check the local time zone in the site summary. Tap Time Zone to change it if needed.
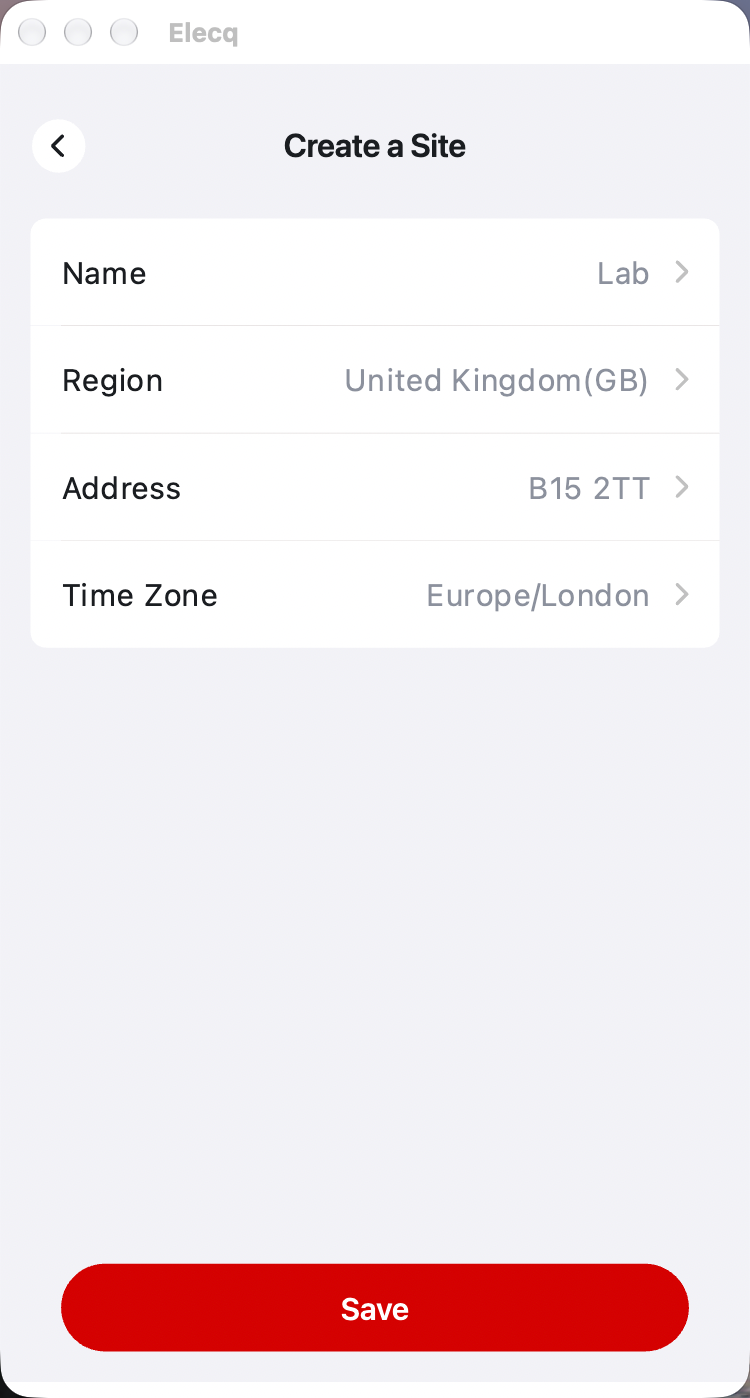
When your site details are correct, tap Save on Create a Site to continue to Bluetooth scanning.
Keep Bluetooth on and stay near the charger. Wait for your charger to appear in the scan results.
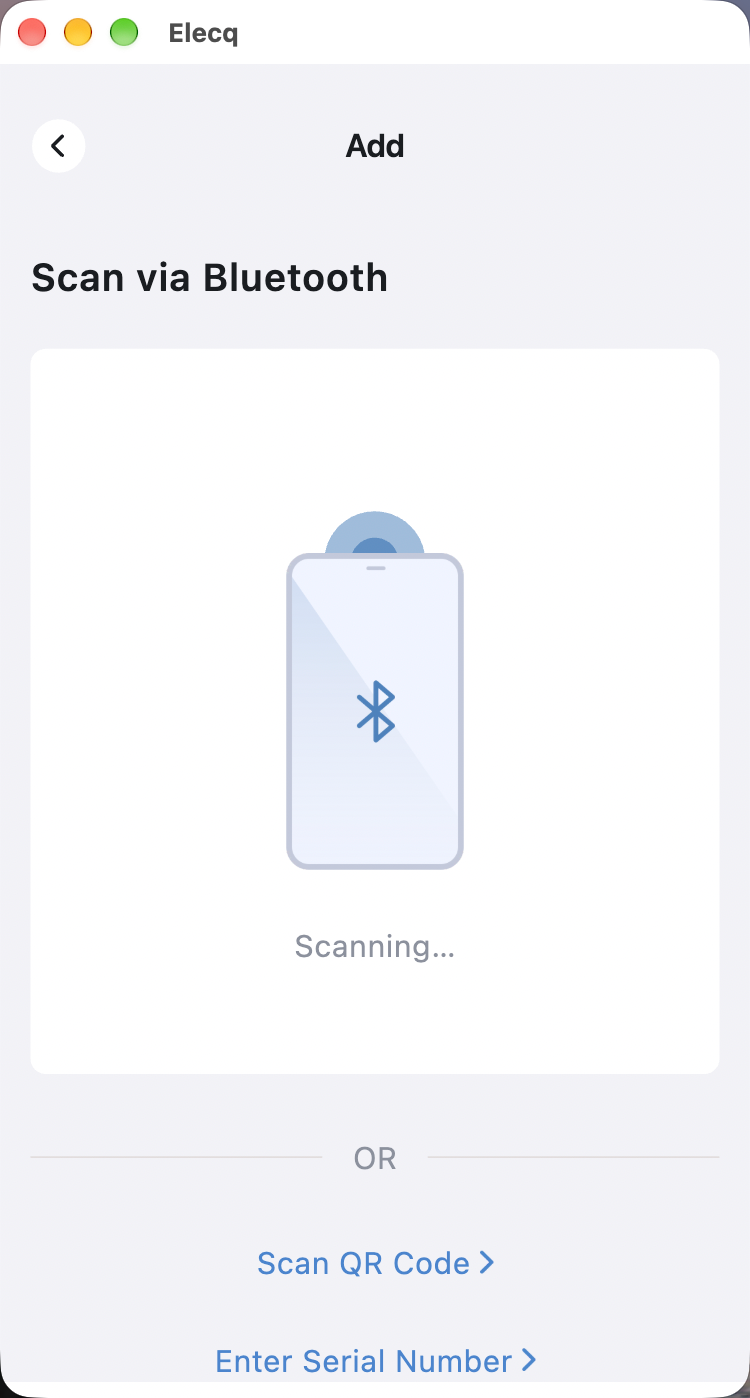
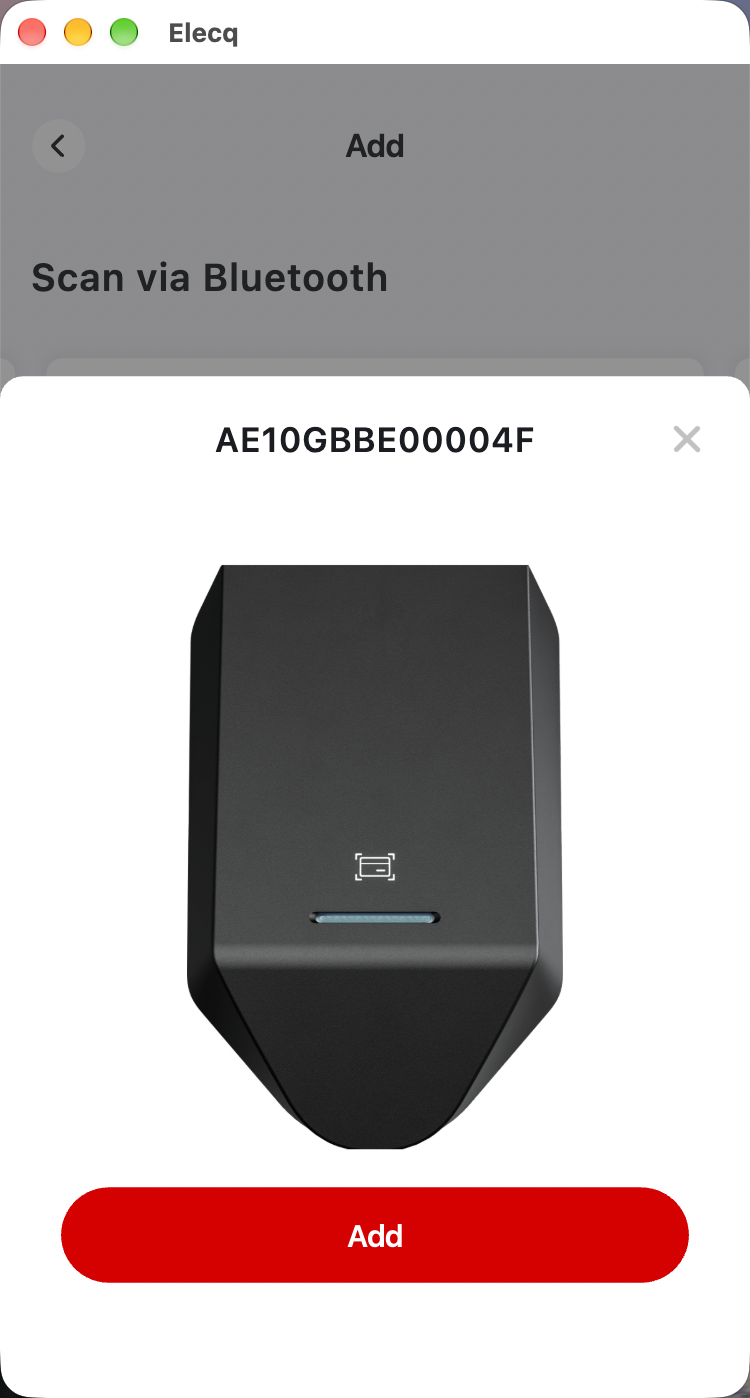
Match the serial number in the scan results, tap View, then tap Add on the charger preview.
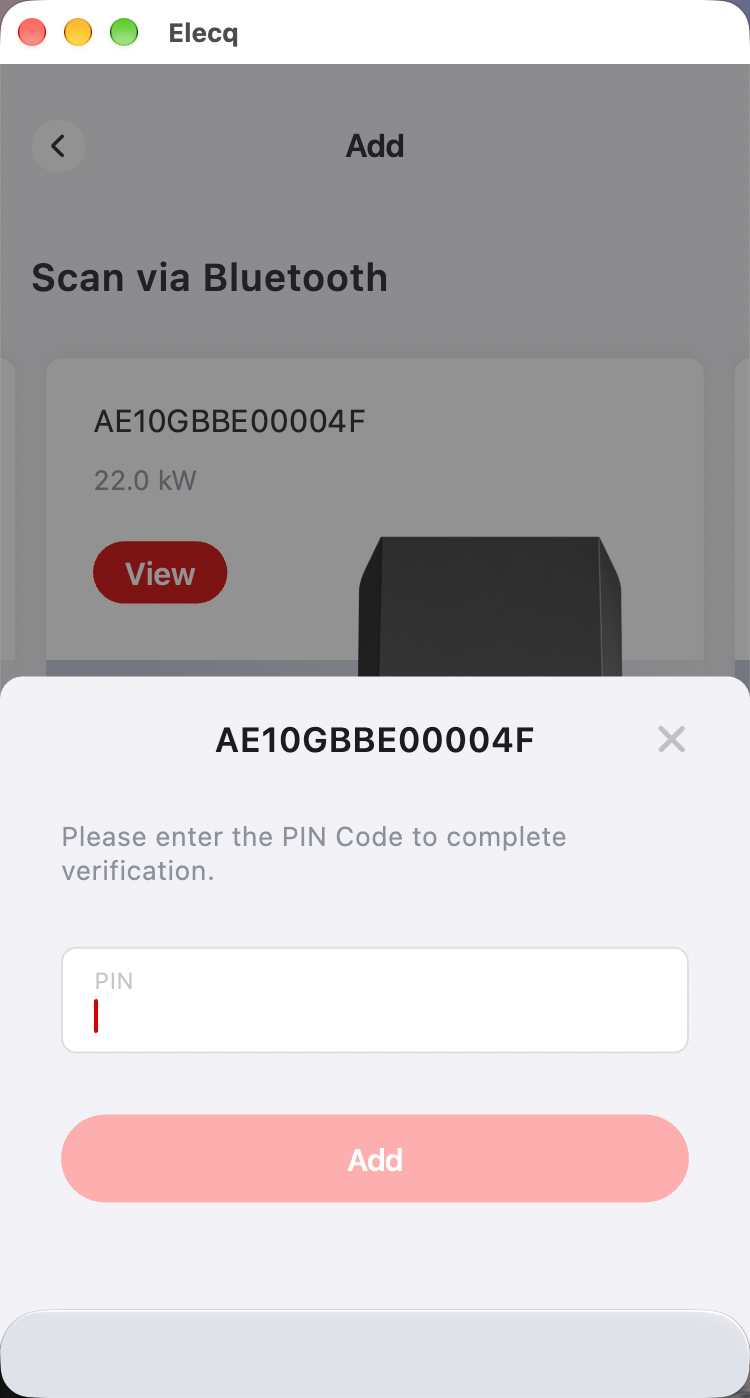
Enter the PIN from the QR code sticker on the manual included in the box, then tap Add to verify and bind the charger.
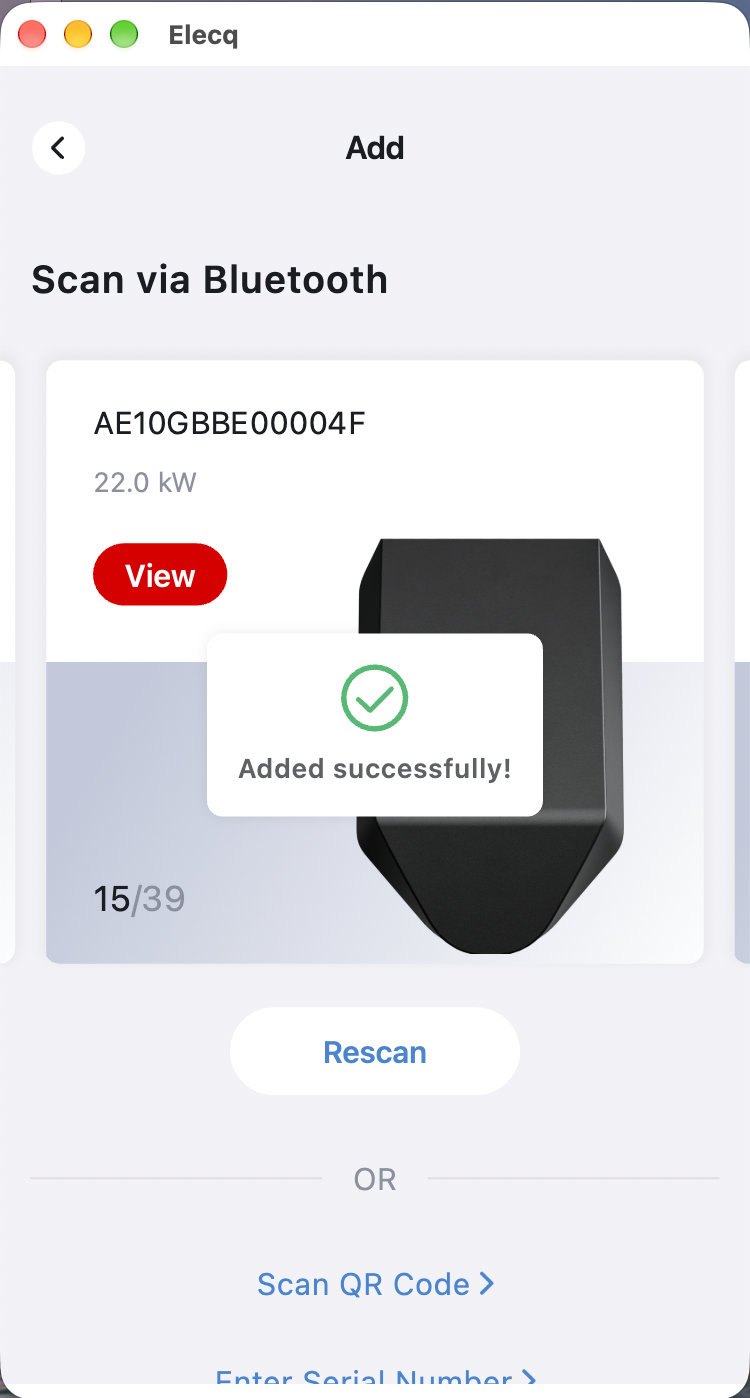
Wait for Added successfully! before returning to your site.
From your site, tap View on the charger card. Stay near the charger with Bluetooth enabled to use it over a local Bluetooth connection, even if the site view shows Offline.
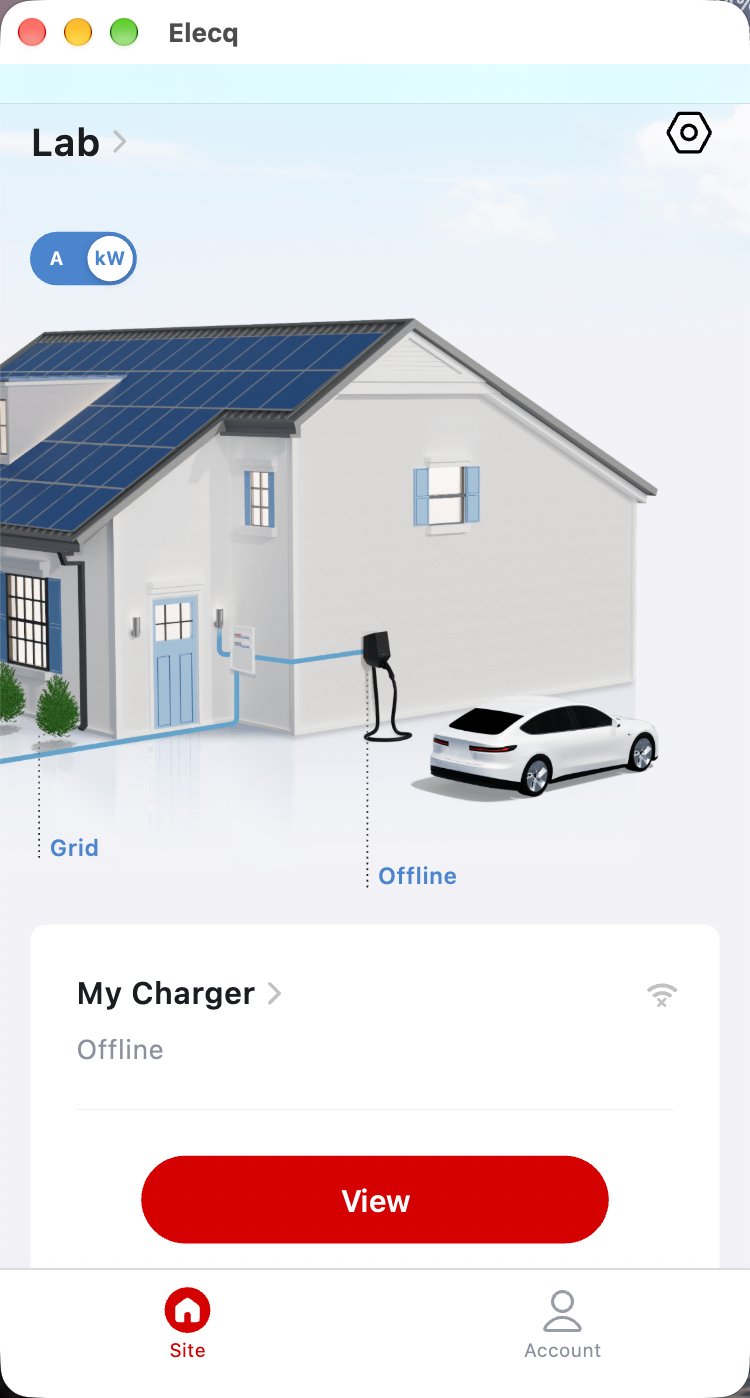
After binding your charger, connect it to a Wi-Fi network with internet access. Stay near the charger with Bluetooth enabled during setup.
On the Site tab, tap My Charger to open the status card.
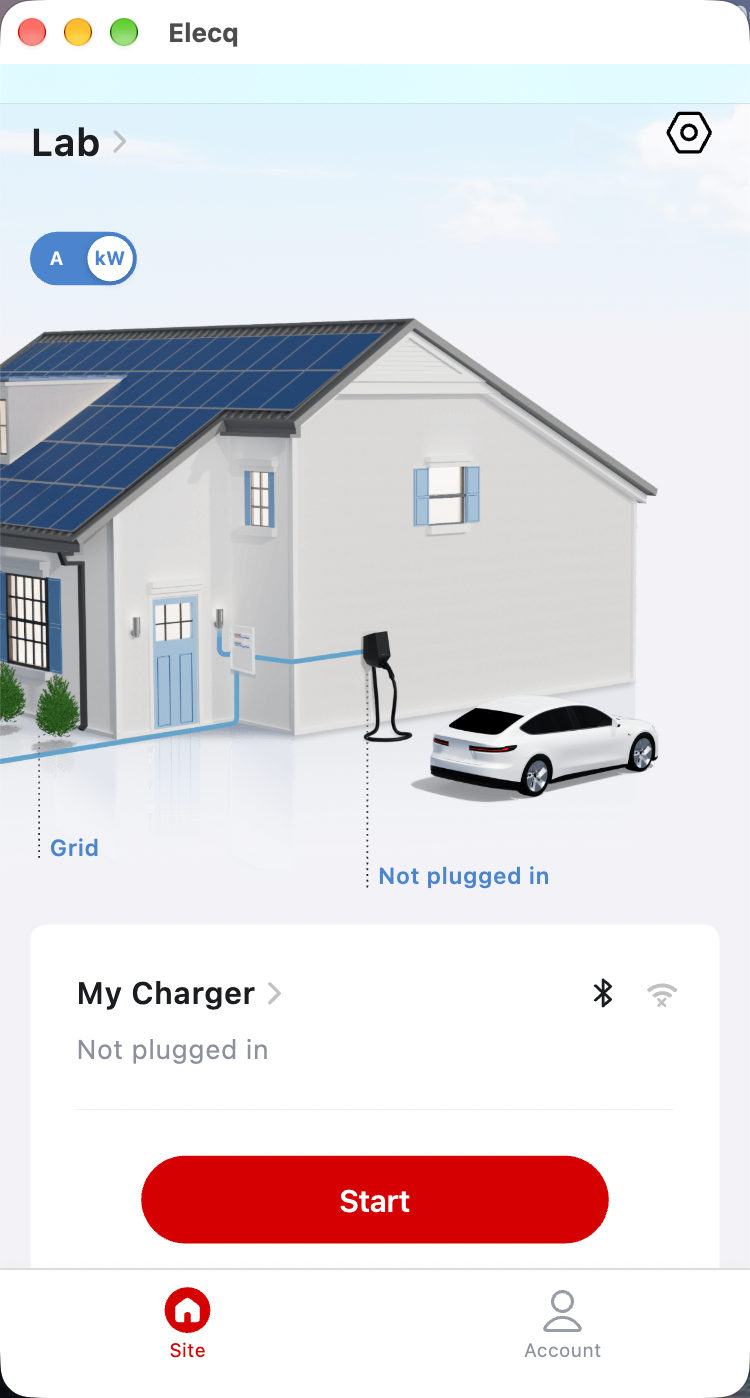
Tap the gray Wi-Fi icon in the upper-left corner of the status card.
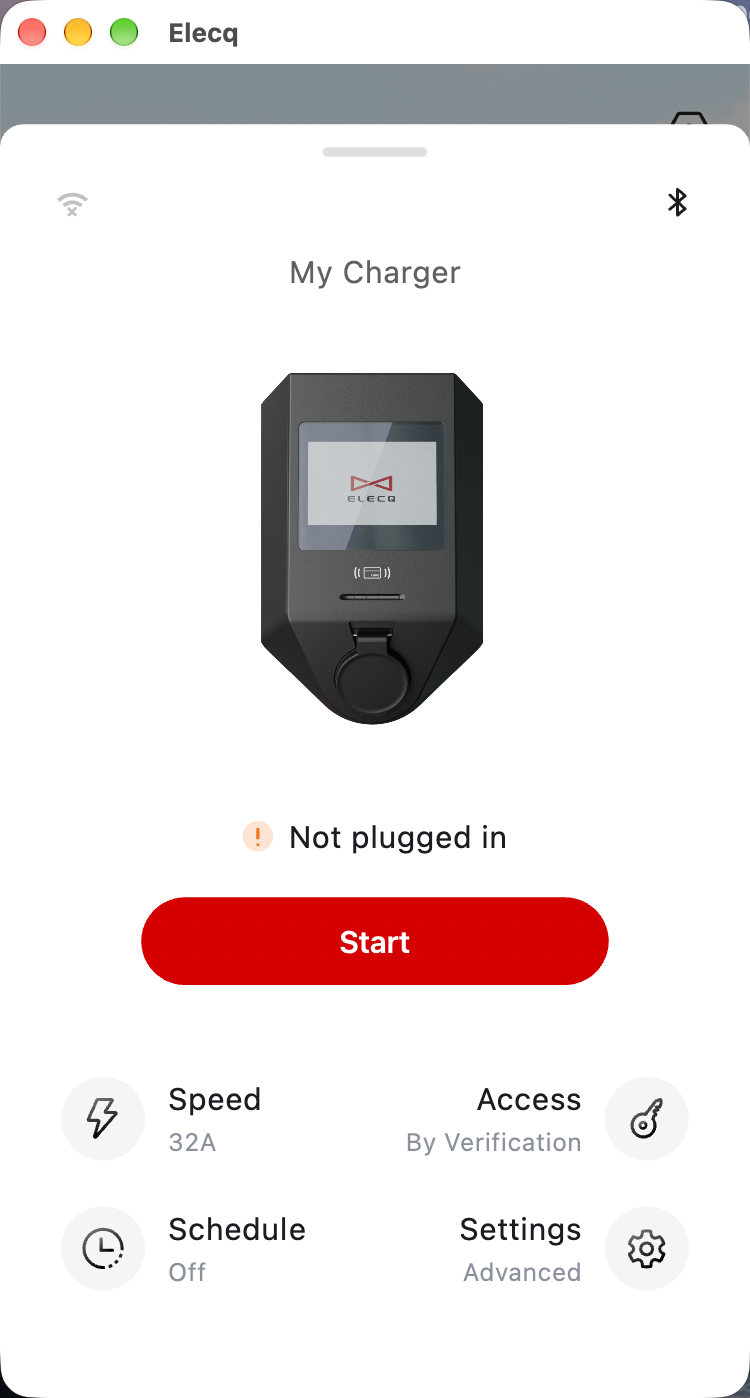
Under Nearby Networks, tap your network name (Home Wi-Fi in this example). Enter its Wi-Fi password if prompted. If your network is missing, tap the refresh icon to scan again.
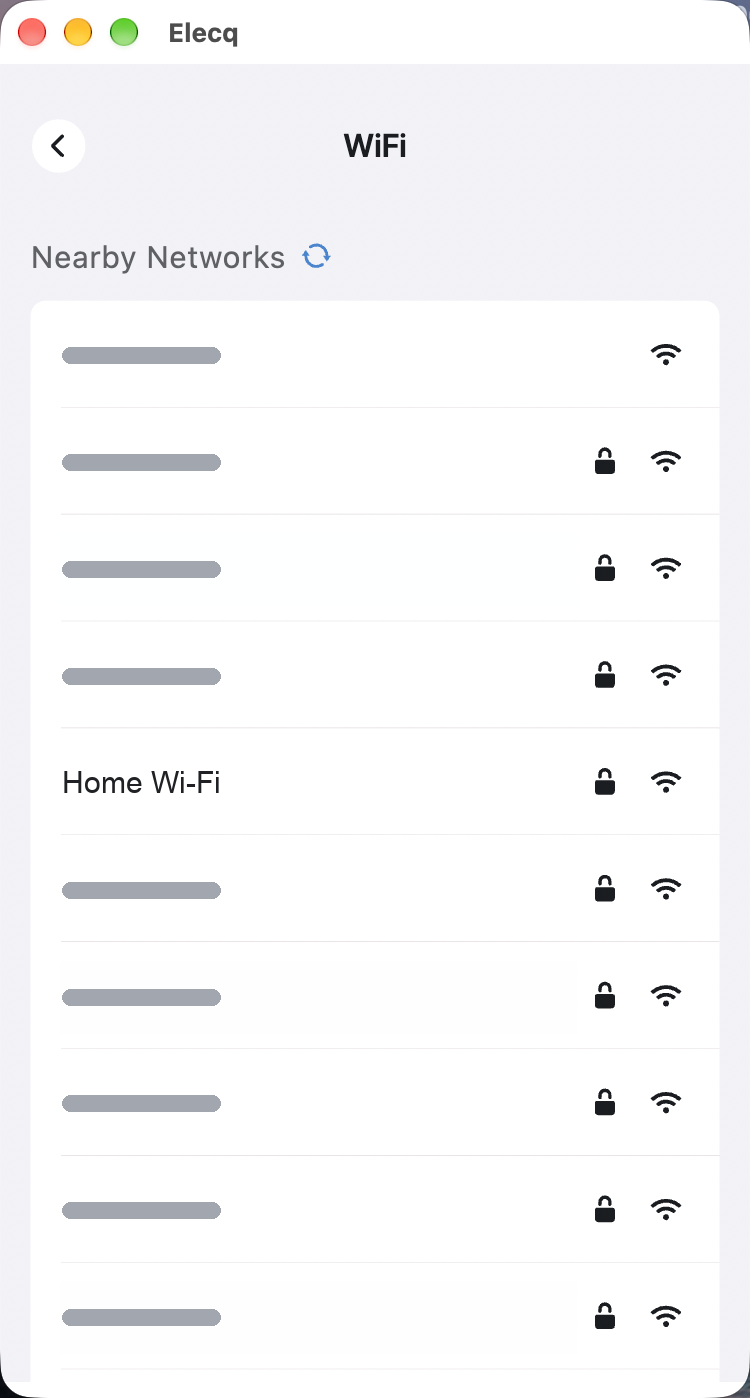
Look for a check mark beside your network under Connected Network. Tap the back arrow to return to the charger.

The Wi-Fi icon in the upper-left corner is now dark.
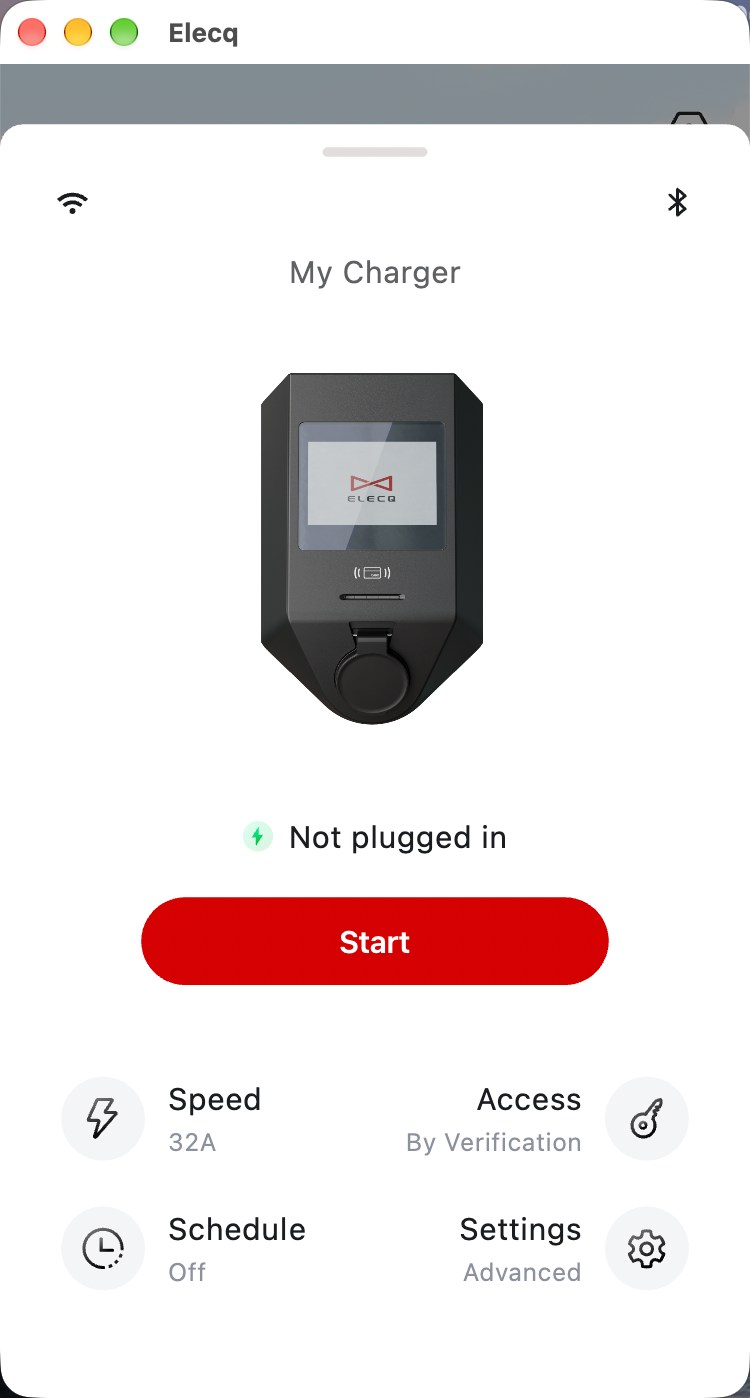
Plug in your vehicle and tap Start from the Site tab or the My Charger panel.
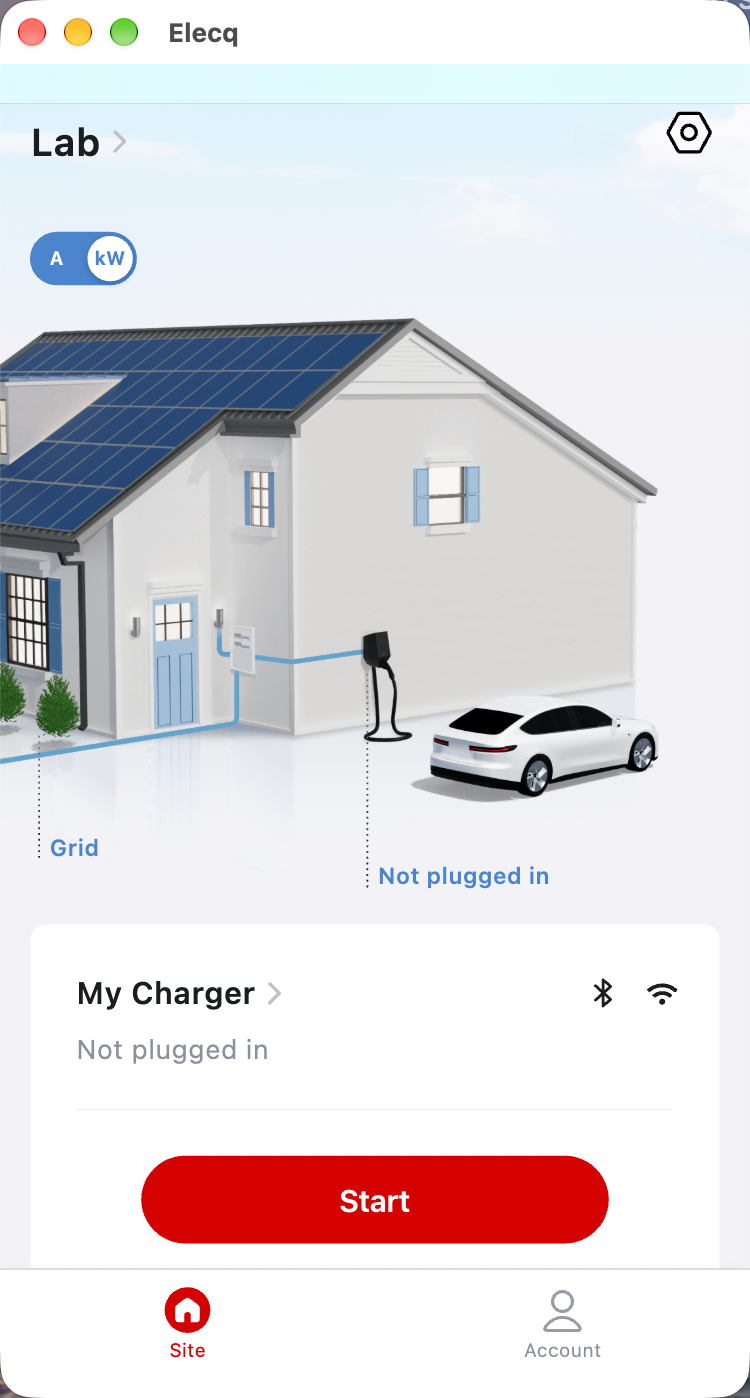
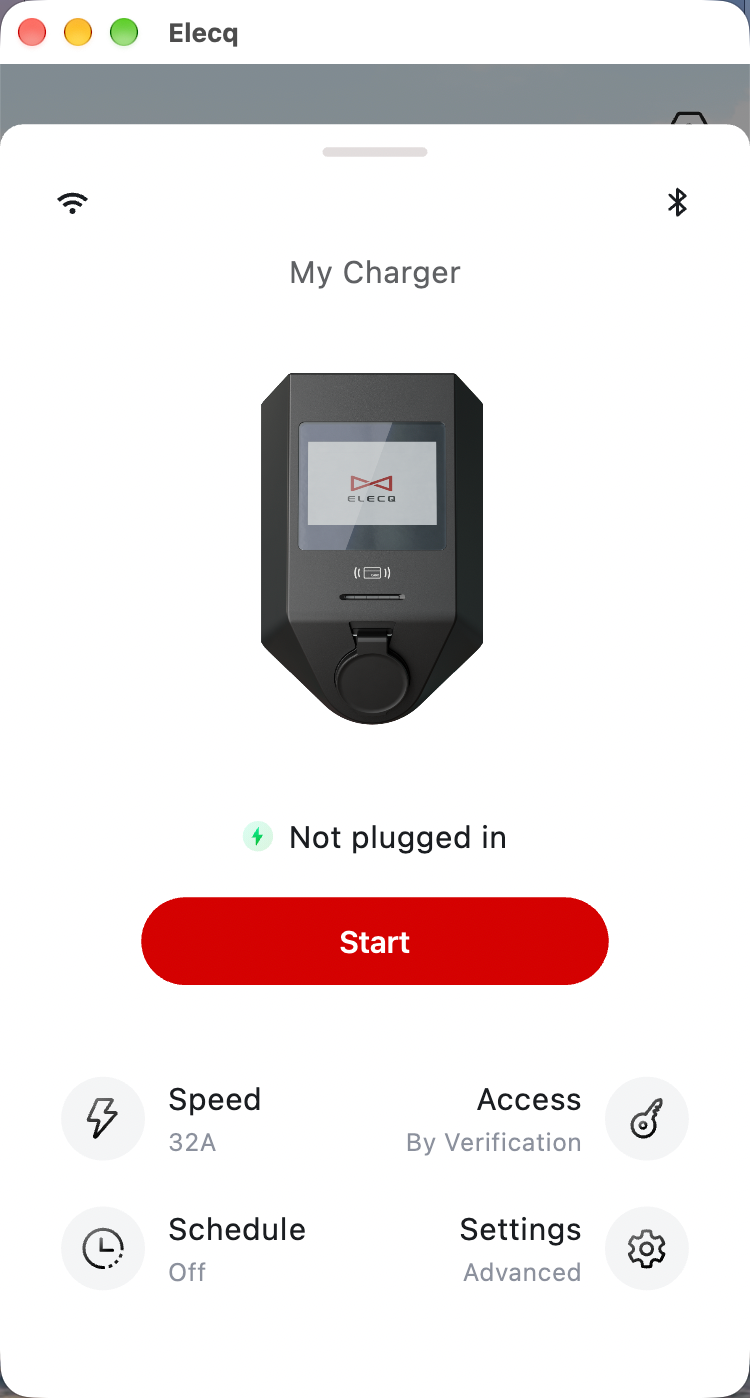
Once the card is registered, plug in your vehicle and tap the card on the charger’s reader to start charging. Registered cards work even when the charger is offline.
In Access, select RFID Card, then tap Add.
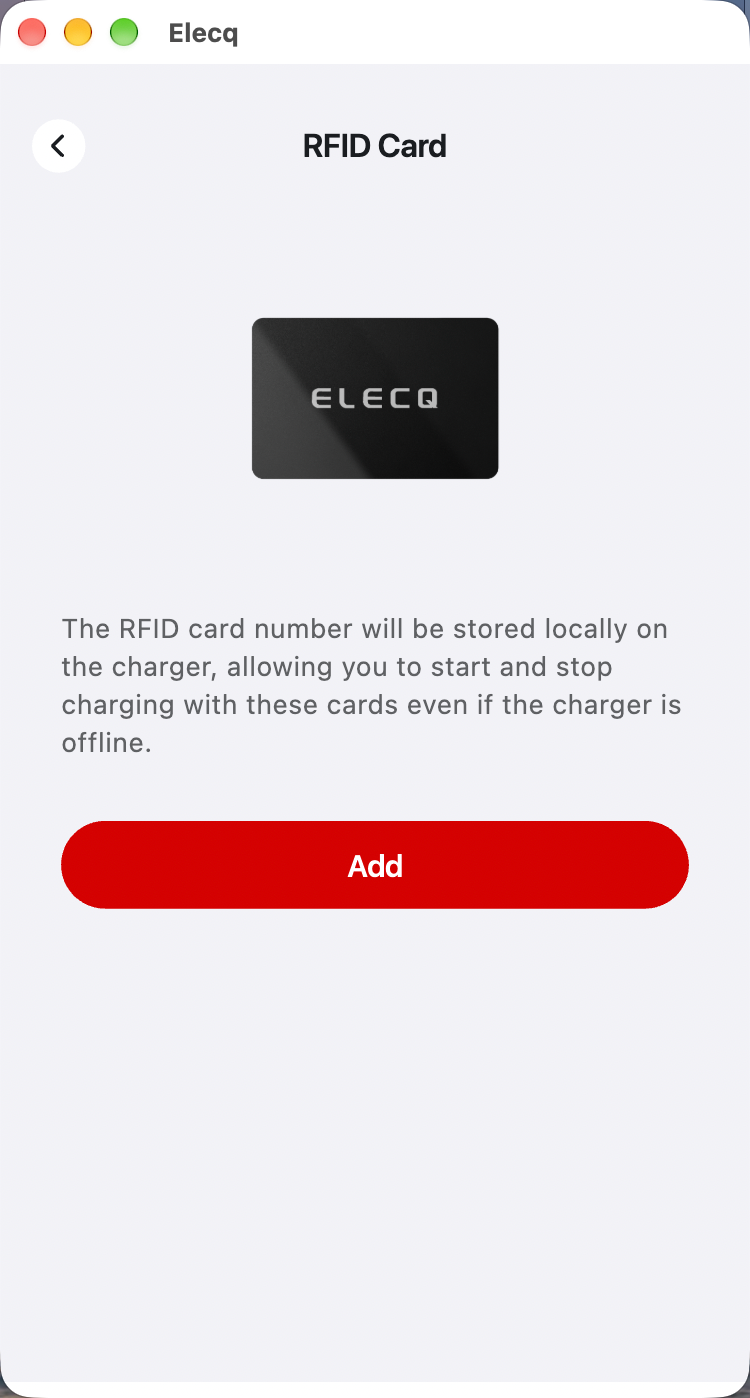
Tap Add via Charger to scan the card at the charger, or select Enter Card Number and follow the app prompts.

On the Add via Charger screen, tap Add when you have your card ready.
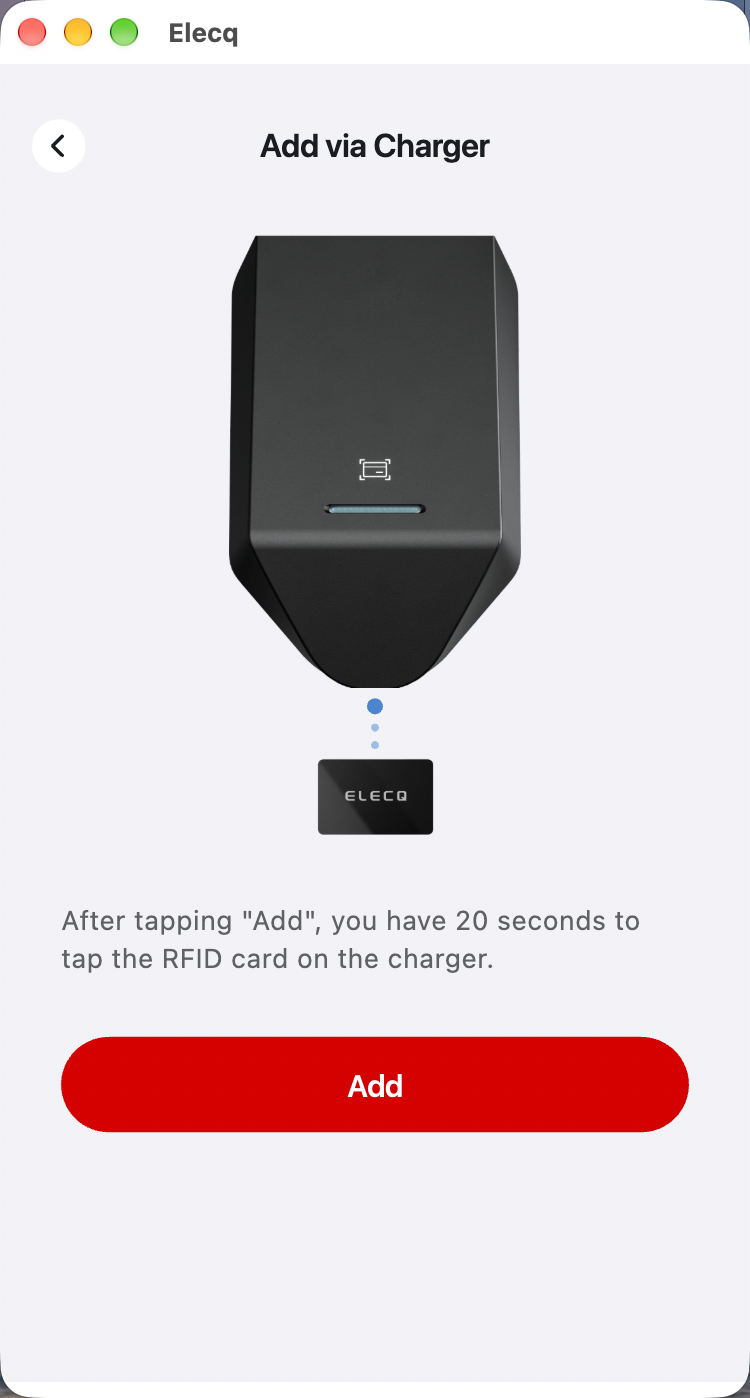
Present the RFID card to the charger’s reader within 20 seconds.

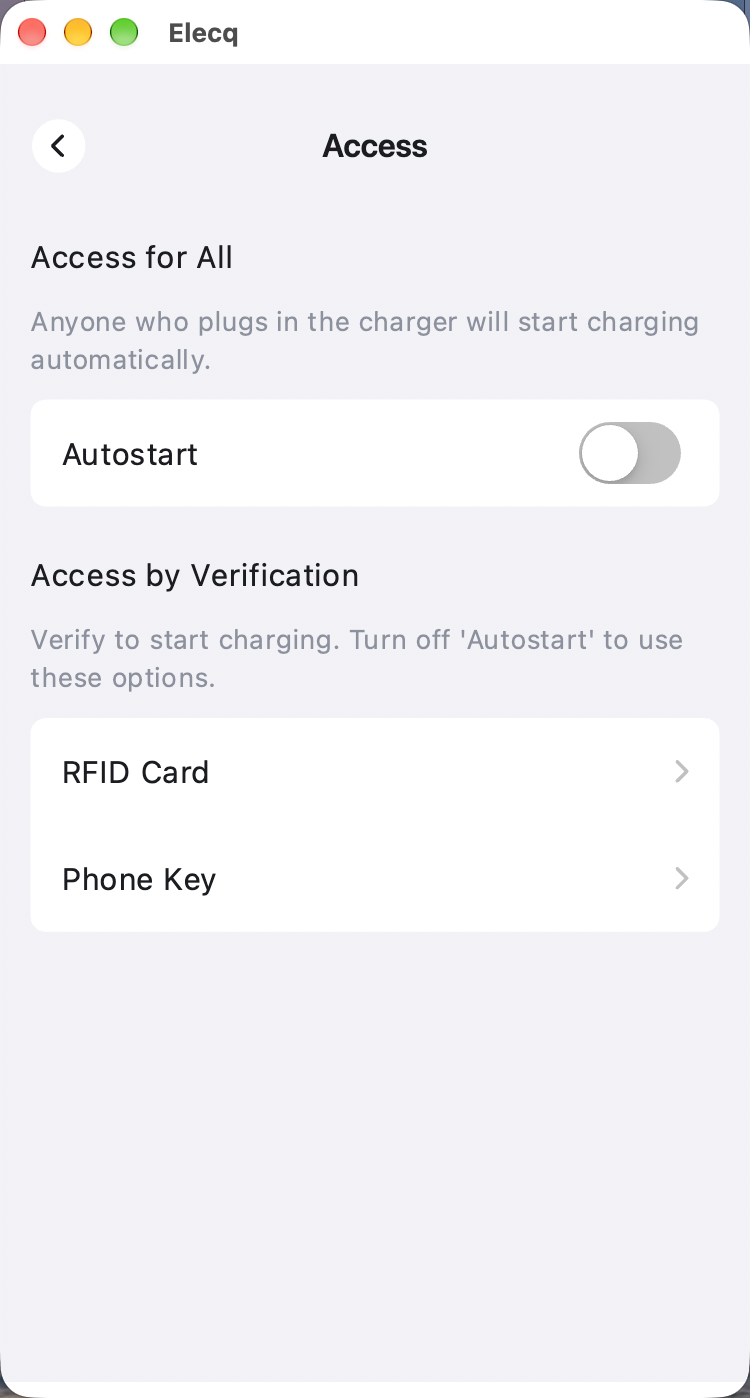
From Site, open My Charger and tap Access. With Autostart off, tap Phone Key.
Tap Set Up, follow the app prompts, and keep Bluetooth on.
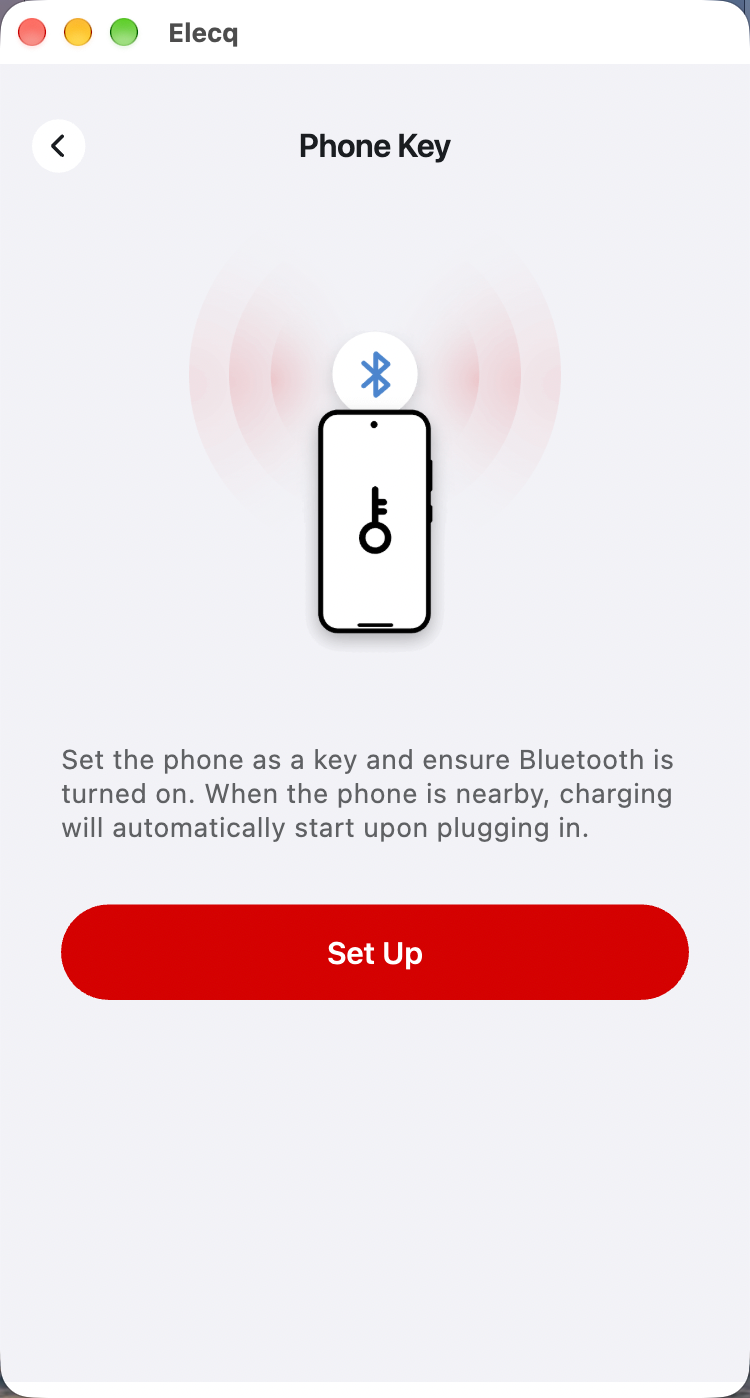
When you approach with your configured phone, the charger plays a voice prompt in the language you’ve set. Plug in while the phone is nearby to start charging automatically.
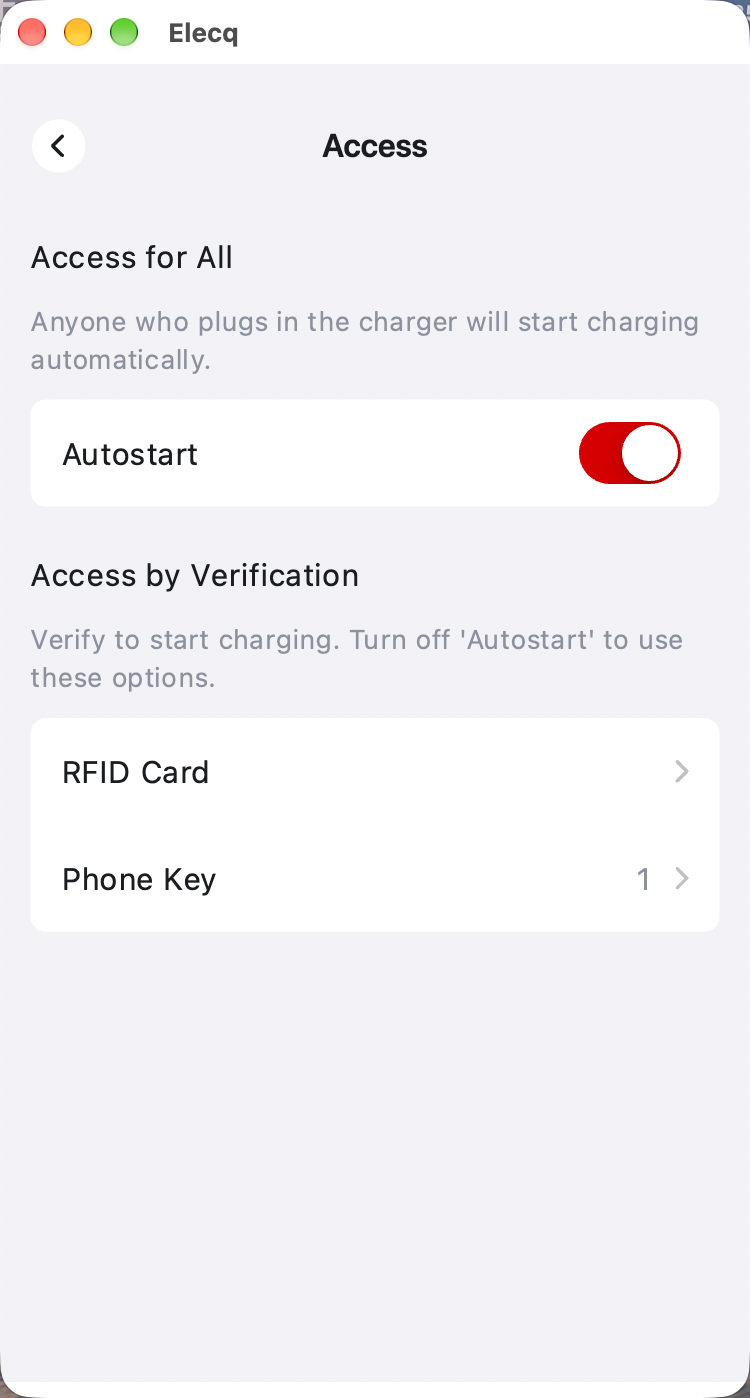
In Access, turn on Autostart. Charging starts automatically whenever someone plugs in.
Autostart overrides scheduled starts. Anyone can start charging by plugging in.
From Site, open My Charger and tap Speed. Choose a fixed current limit or set different limits for different times of day.
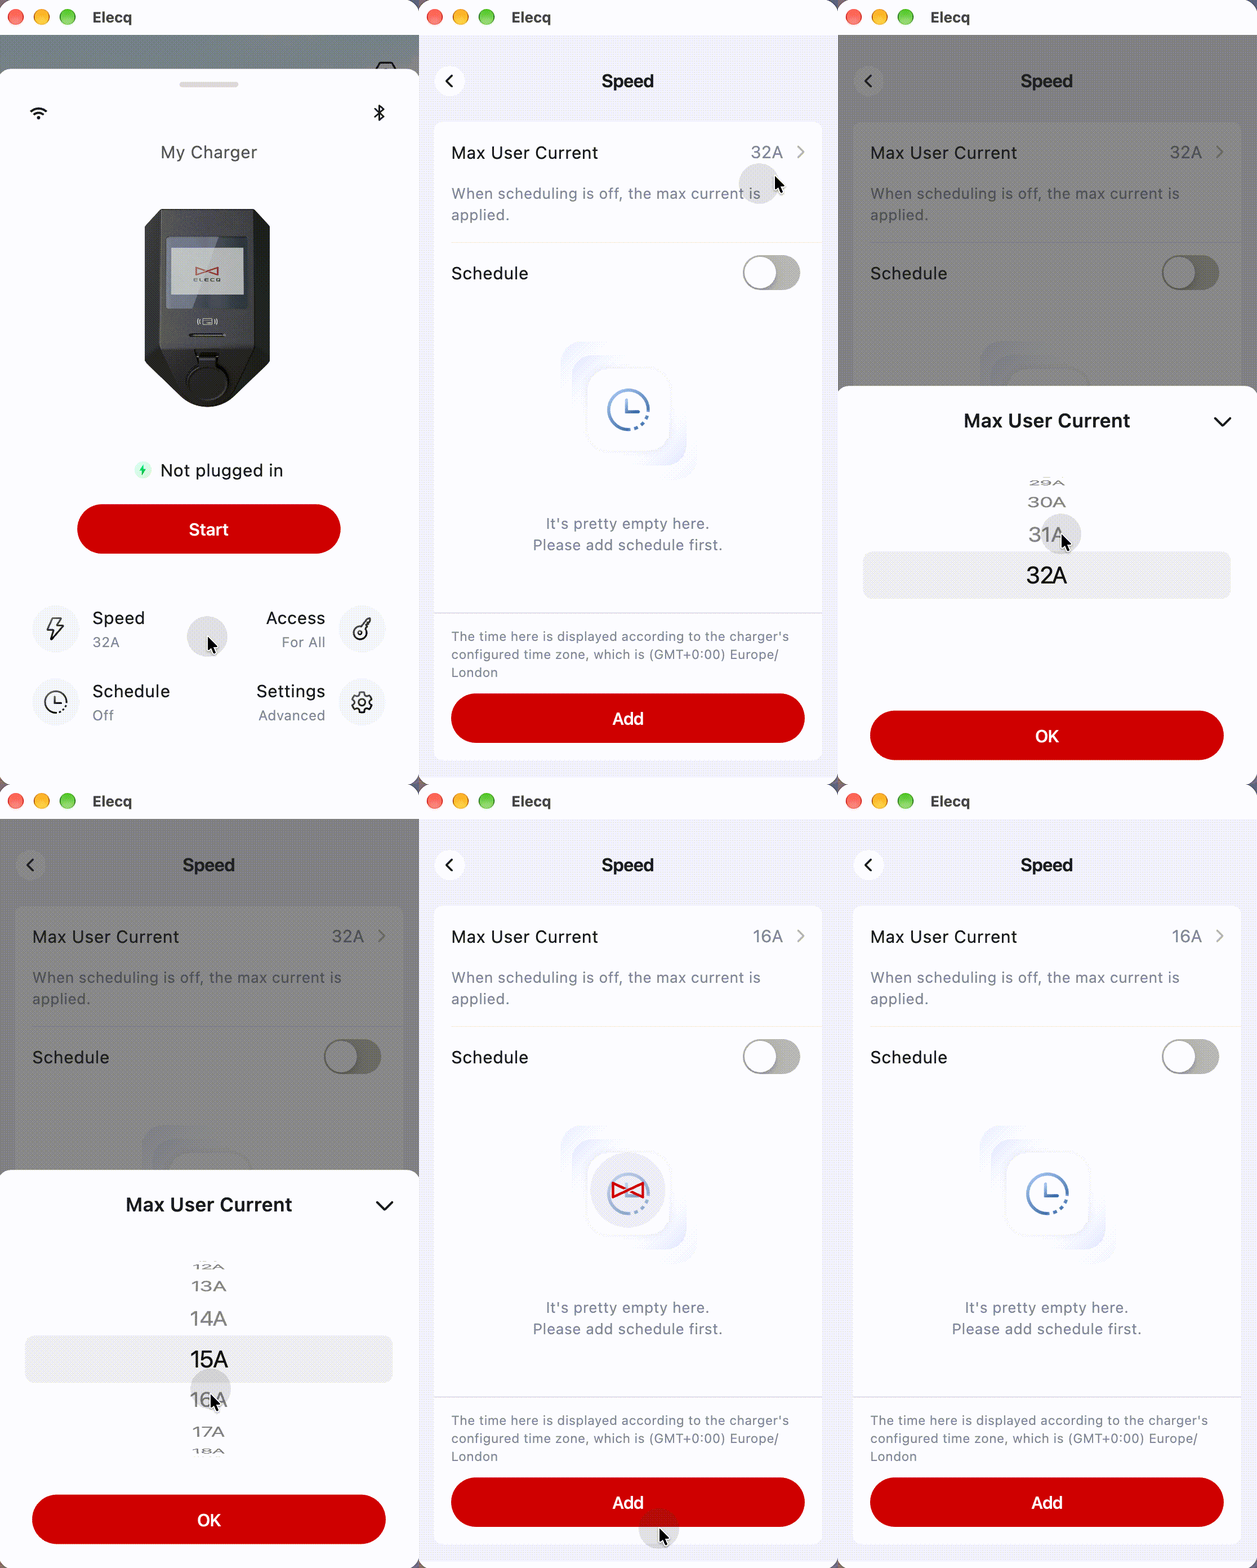
Turn on Schedule and tap Add to set a current limit for a time period. Choose every day or specific days of the week under Repeat.
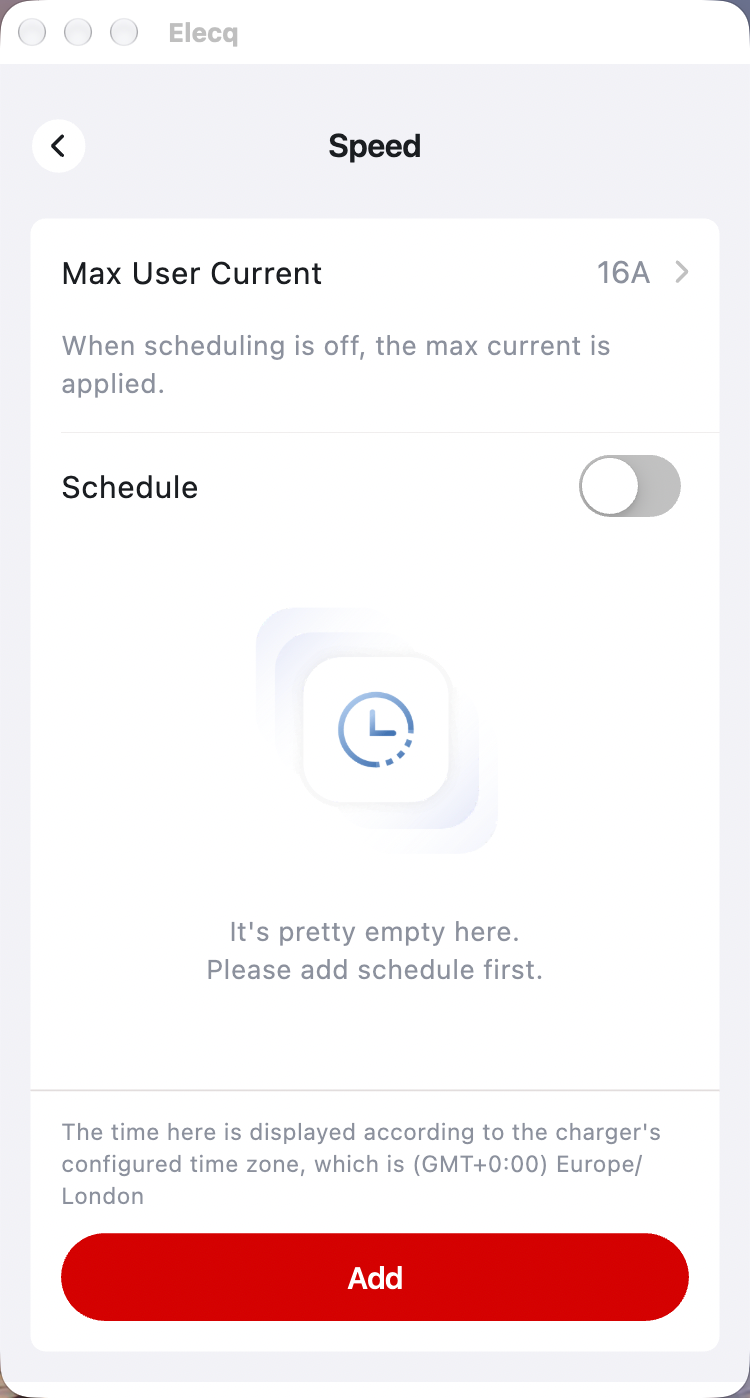
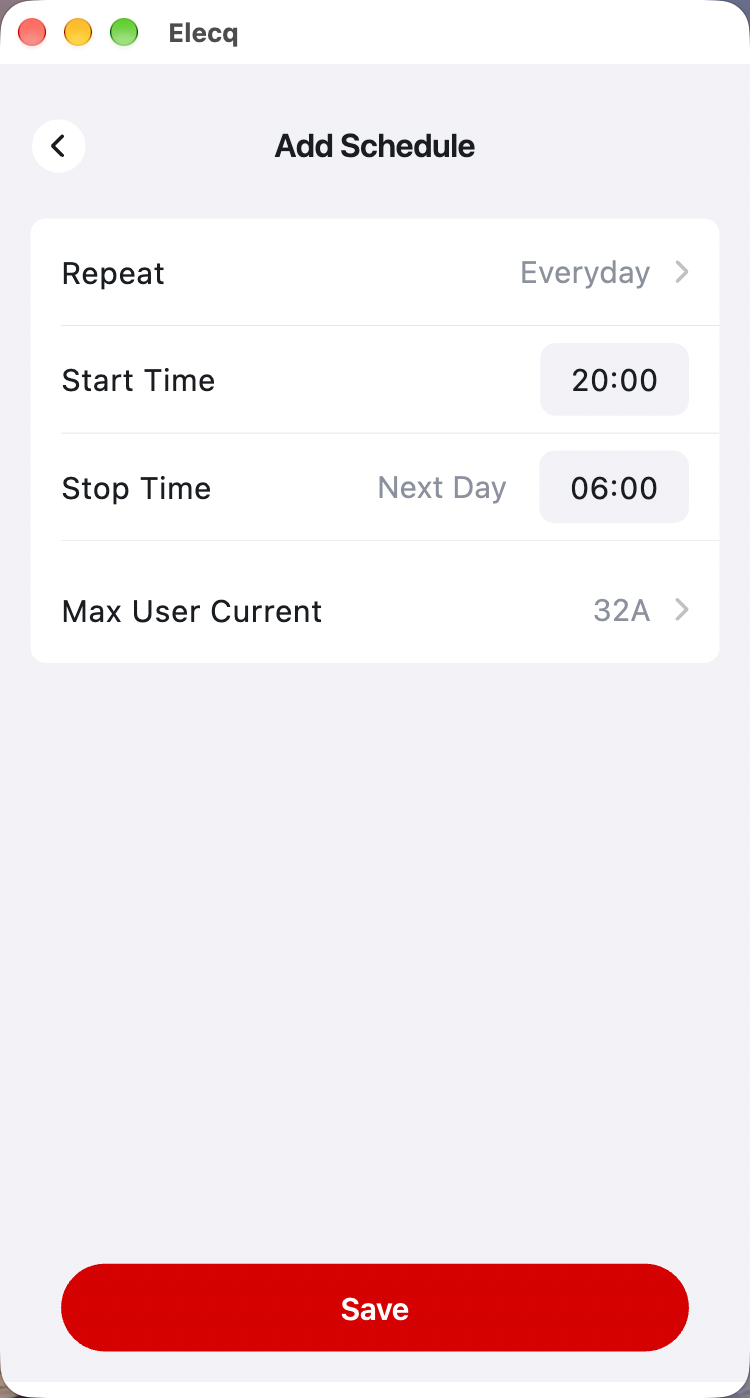
Tap a highlighted field to see its options. Set Start Time and Stop Time on the form. For an overnight period, check that the stop time shows Next Day.
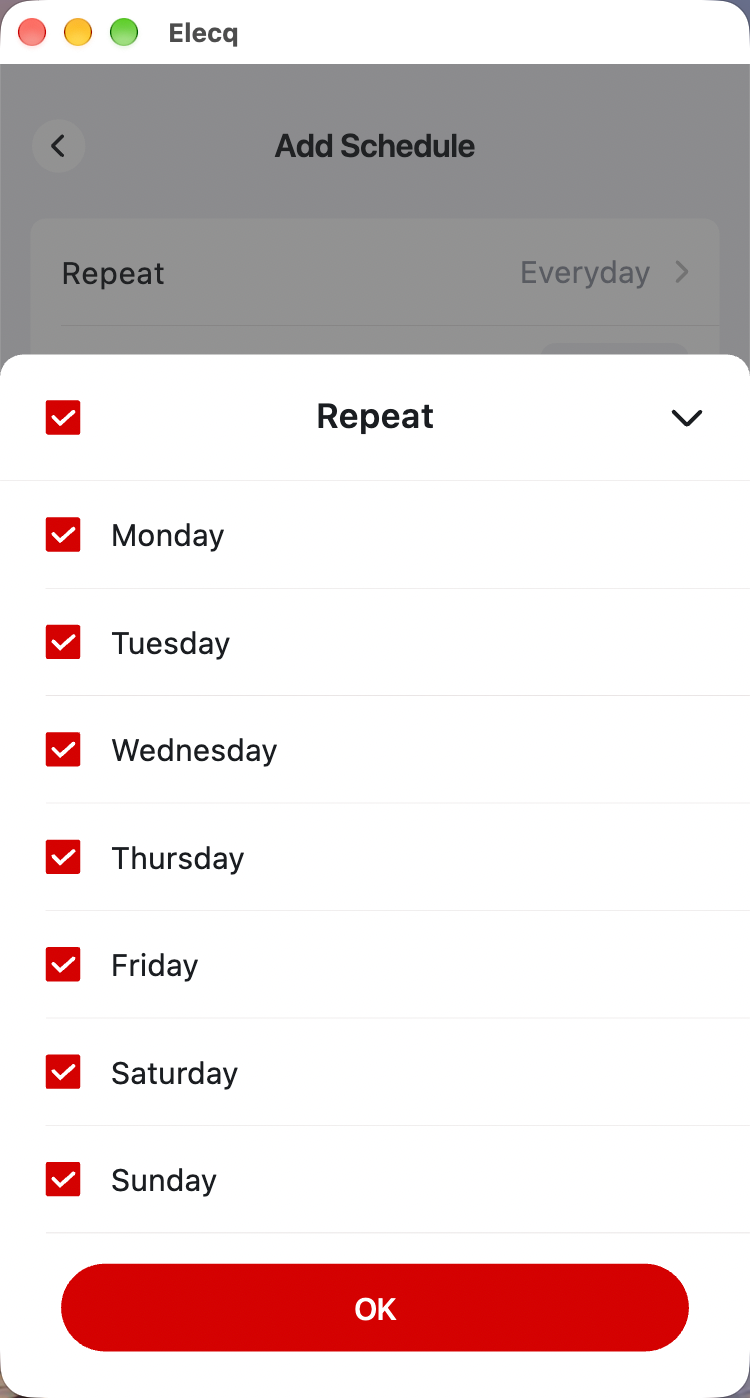
Select the days when the period starts, then tap OK.
Choose the current limit for this period, then tap OK.
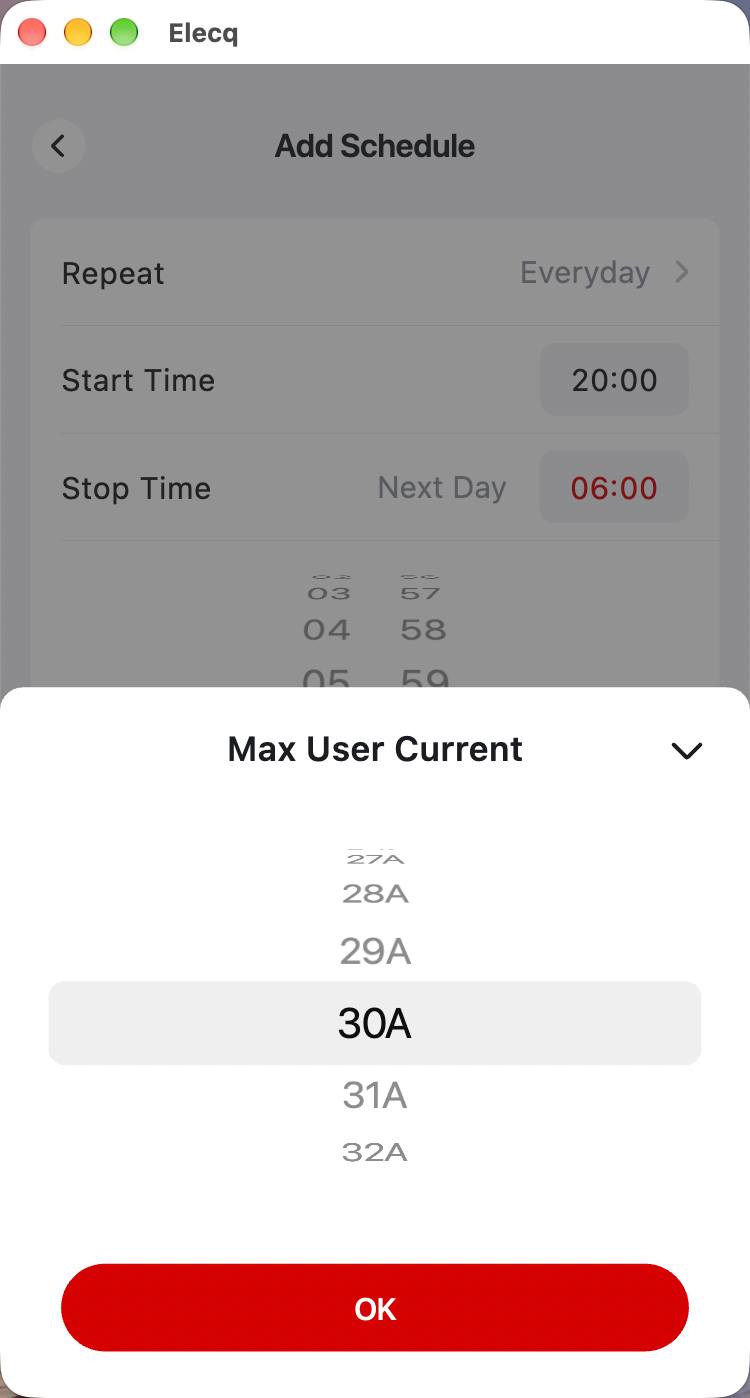
Tap Save, then check that the saved period is enabled.

Choose the days and times you want to charge each week. If your vehicle is plugged in and ready to charge at the start time, the charger starts automatically and stops at the end of the period.
For scheduled charging to take effect, turn off Autostart under My Charger → Access. Autostart overrides the schedule.
From Site, open My Charger and tap Schedule.
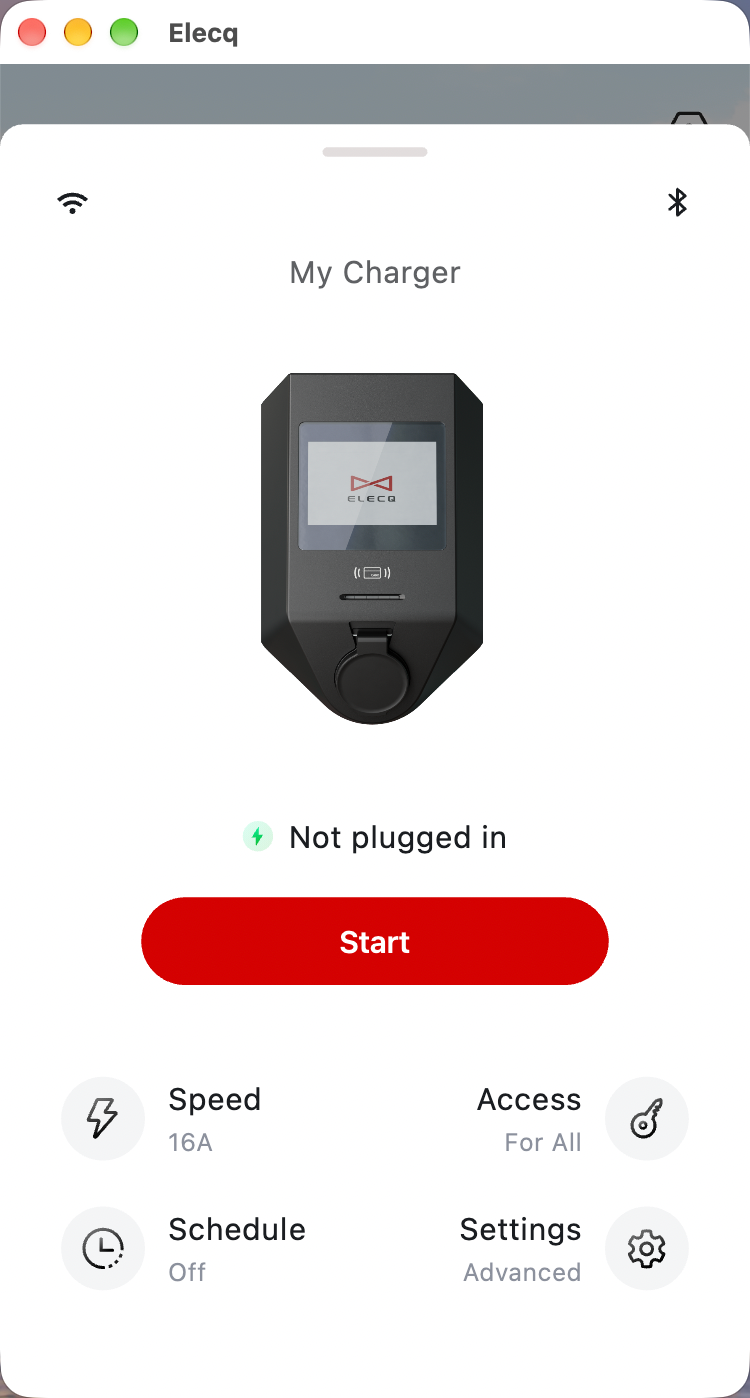
Turn on Schedule Charging.

Tap Add to set a weekly charging period.
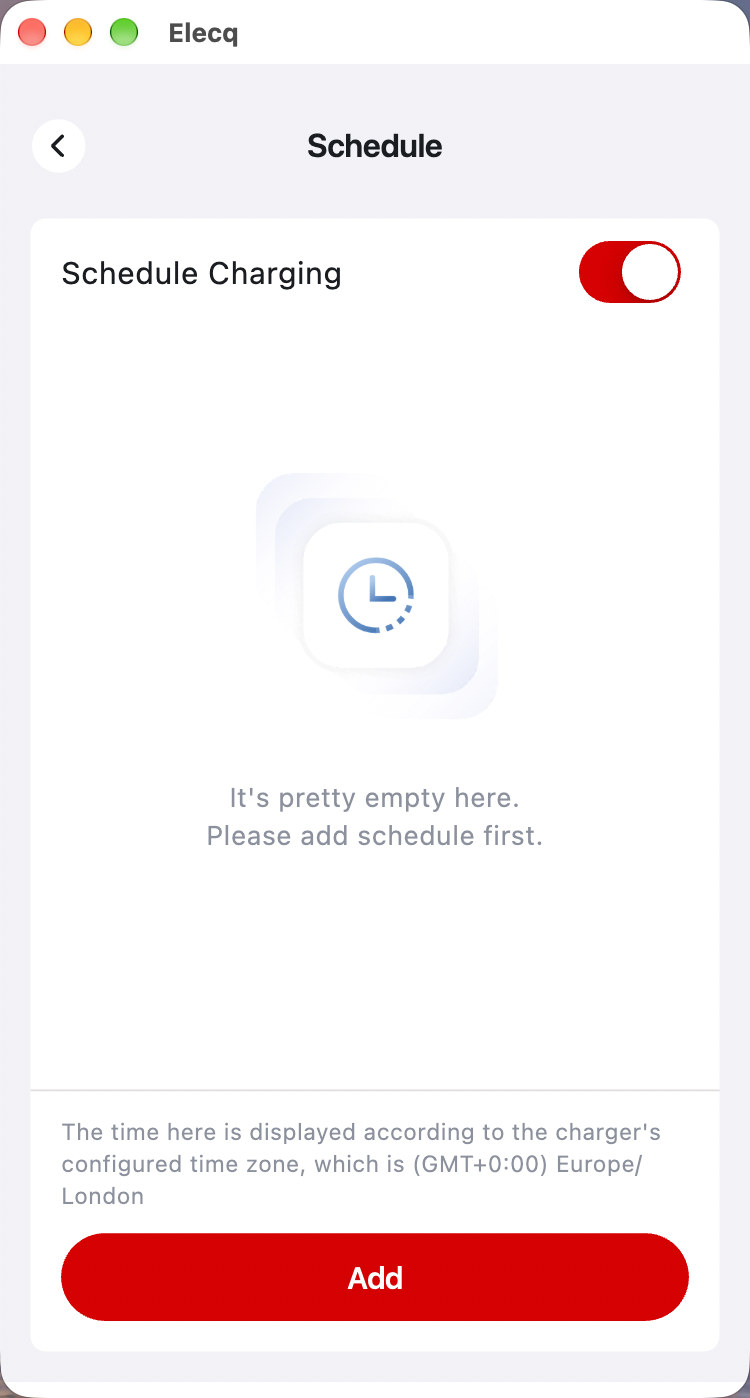
Set Start Time and Stop Time in the charger’s time zone. For an overnight period, check that the stop time shows Next Day. Tap Repeat to see how to select the days.
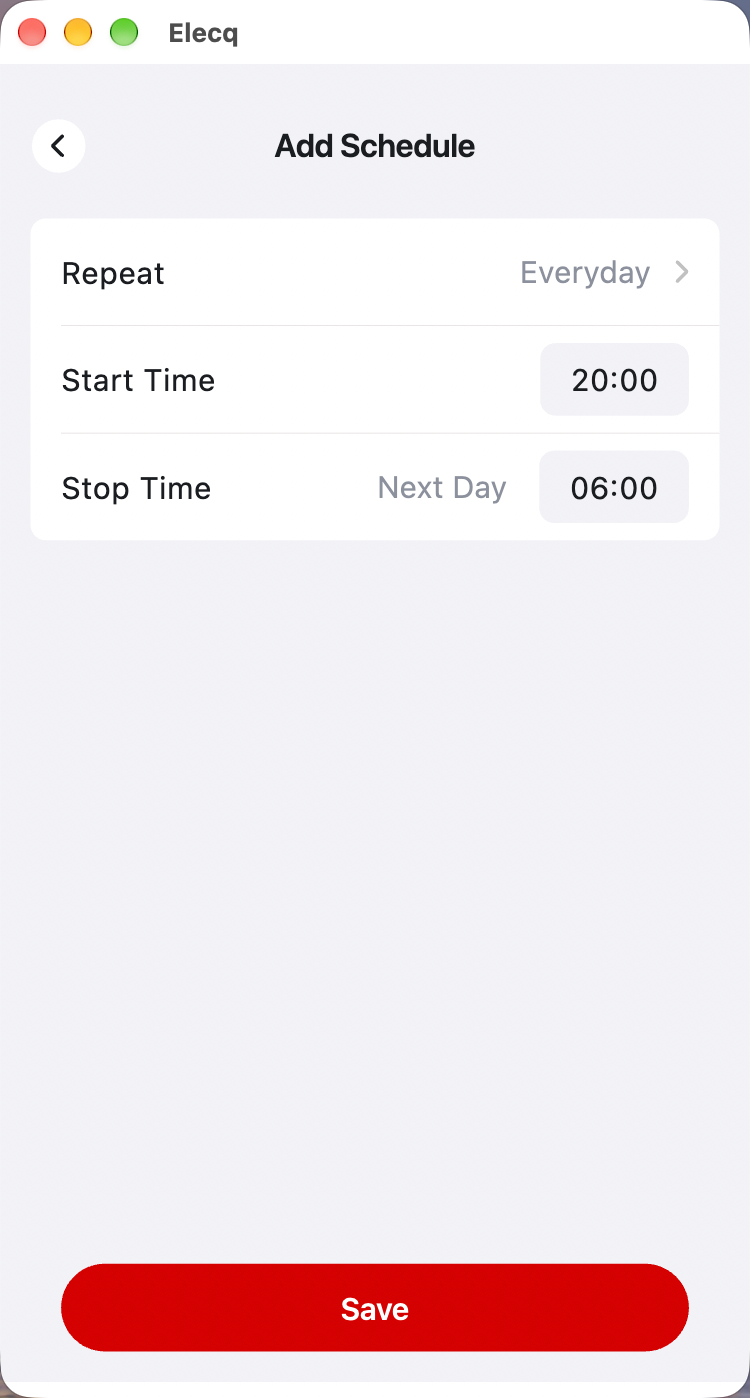
Select each day the period should start, then tap OK. Select all seven days to repeat daily.
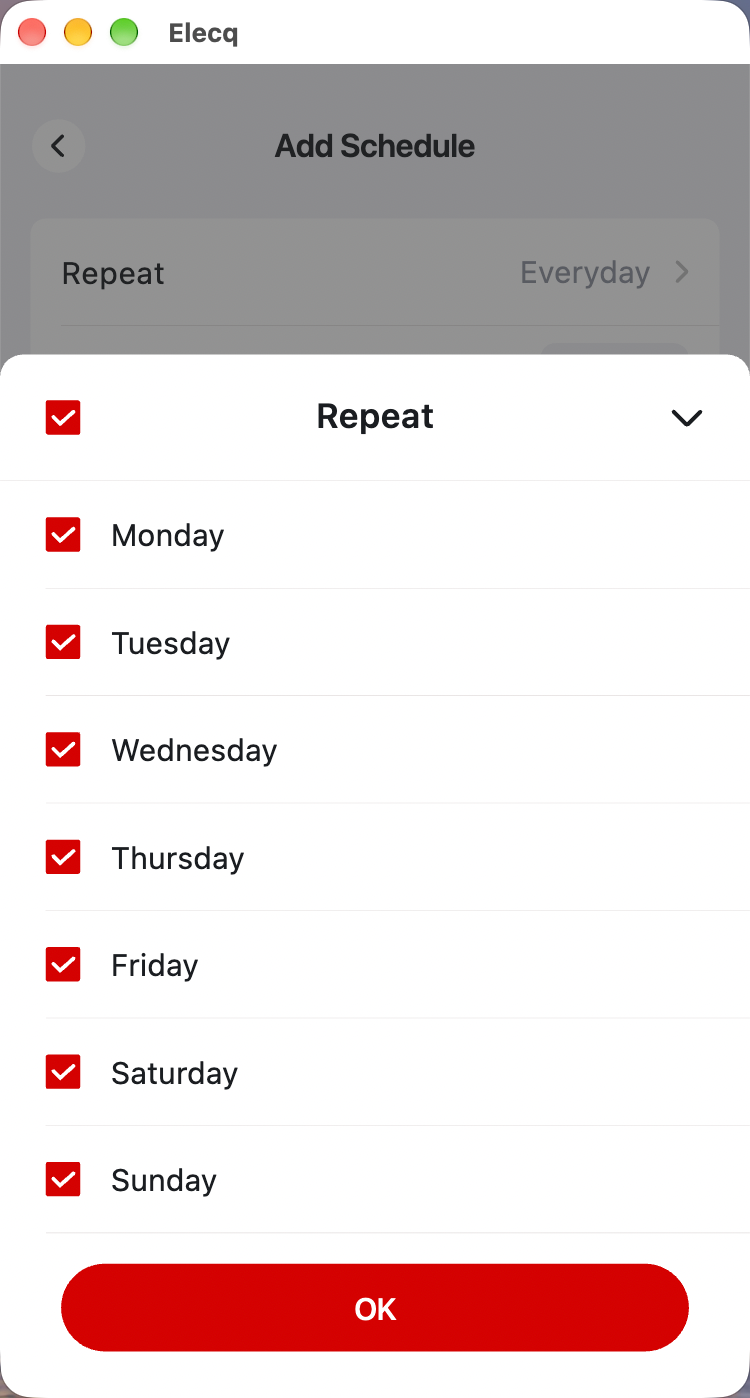
Tap Save on the form. On the Schedule screen, check that both Schedule Charging and the saved period are enabled. This example runs every night from 20:00 to 06:00 the next day.

Before you send an invitation, ask your family member to register in the Elecq app with the email address you’ll invite.
Open Account, tap Members, then choose Add Member. Enter your family member’s registered email address and tap Add.

Your family member opens the invitation in their email inbox and accepts it within 24 hours. They can then return to the Elecq app and use the shared charger with that account.
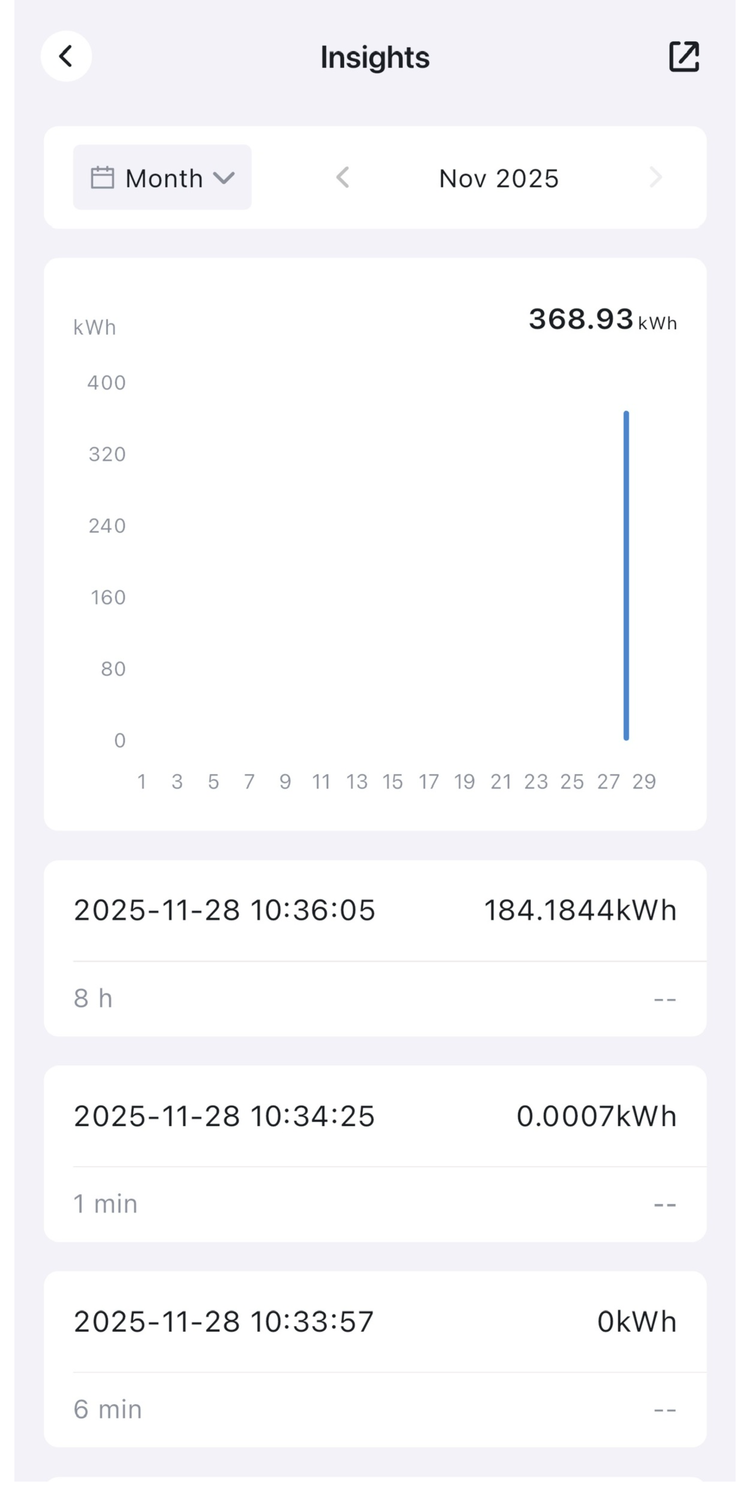
On the Site tab, scroll to the bottom and tap Insights below My Charger. The card shows this month’s energy, costs and session count.

The chart shows total energy for the selected period. Each session below it lists the date, energy and duration. Select a highlighted control to see its options.
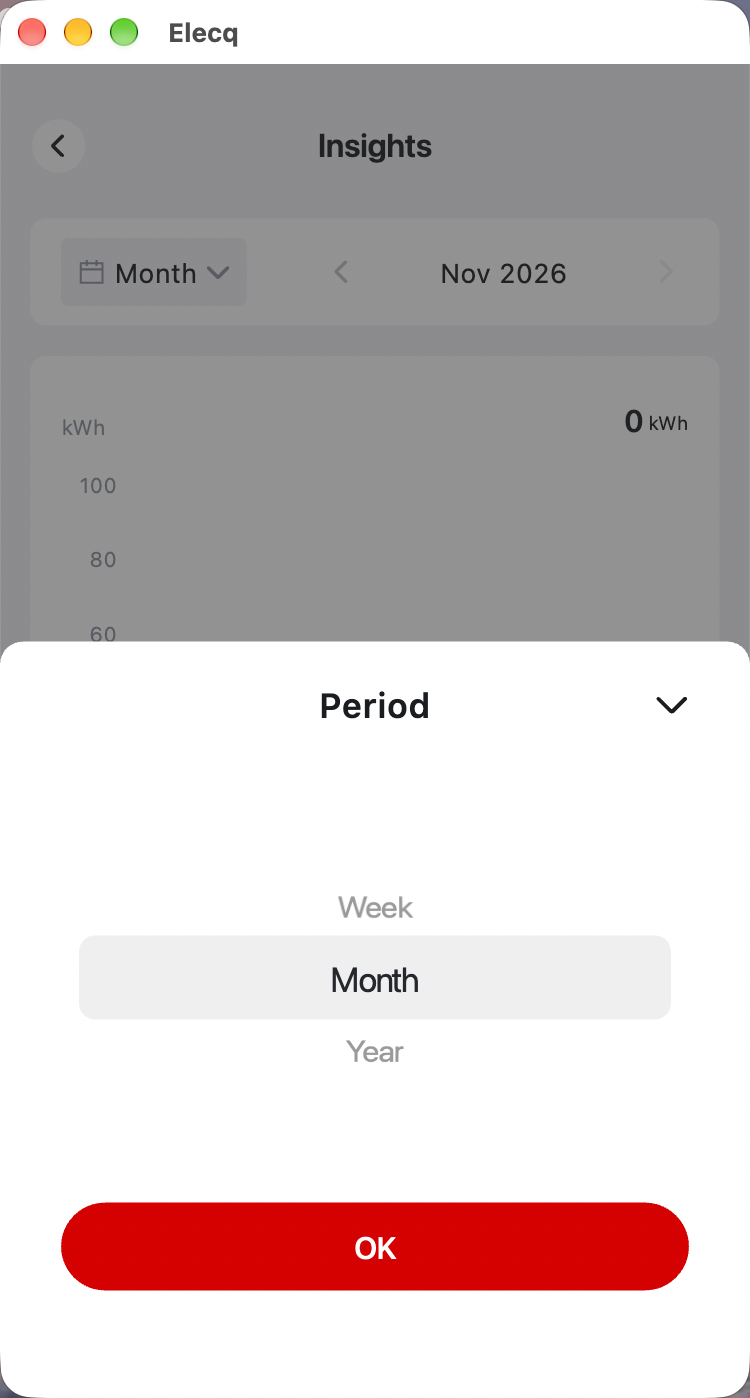
Select Week, Month or Year and tap OK. Use the arrows beside the date to move between periods.
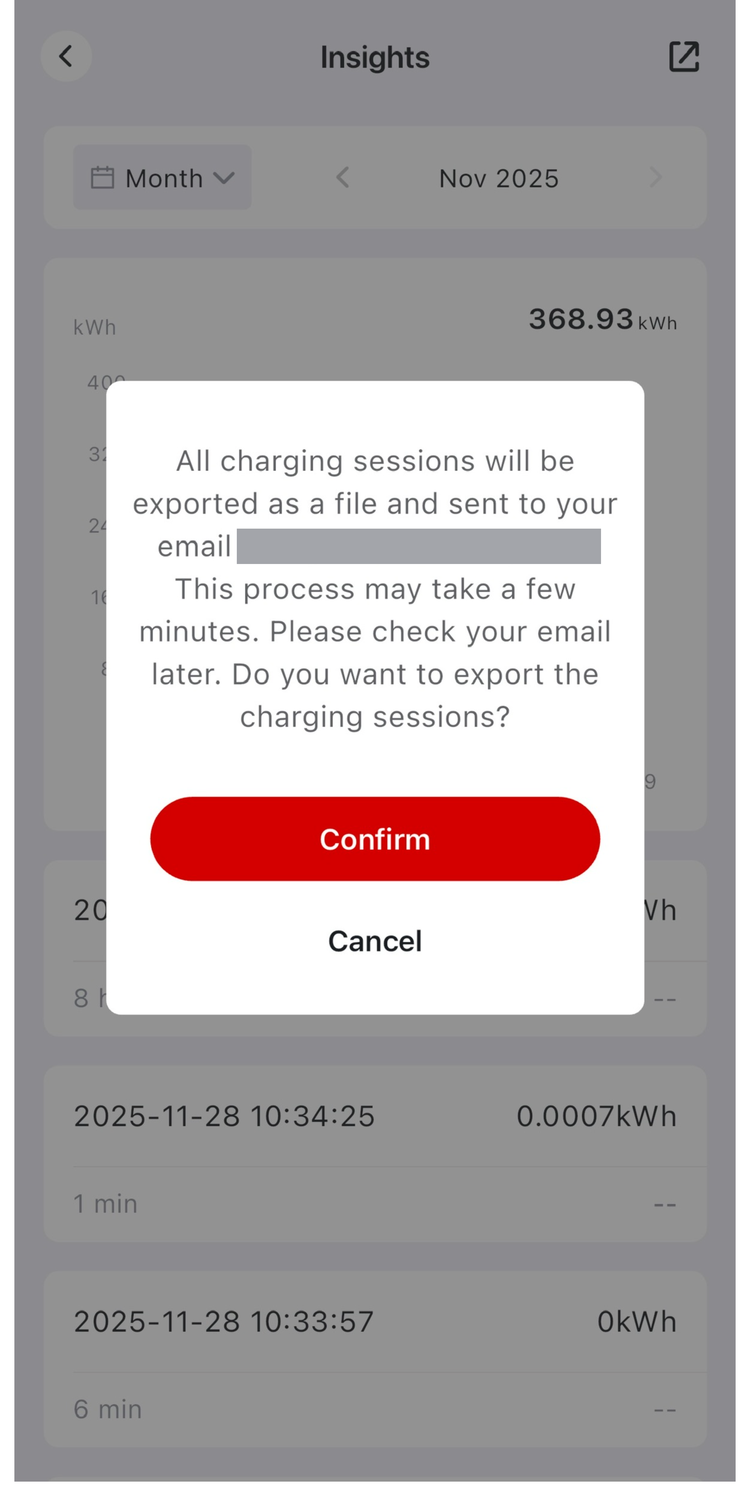
Tap the export icon in the upper-right corner. Check the email address and tap Confirm to receive an Excel file with all charging sessions. Delivery can take a few minutes.
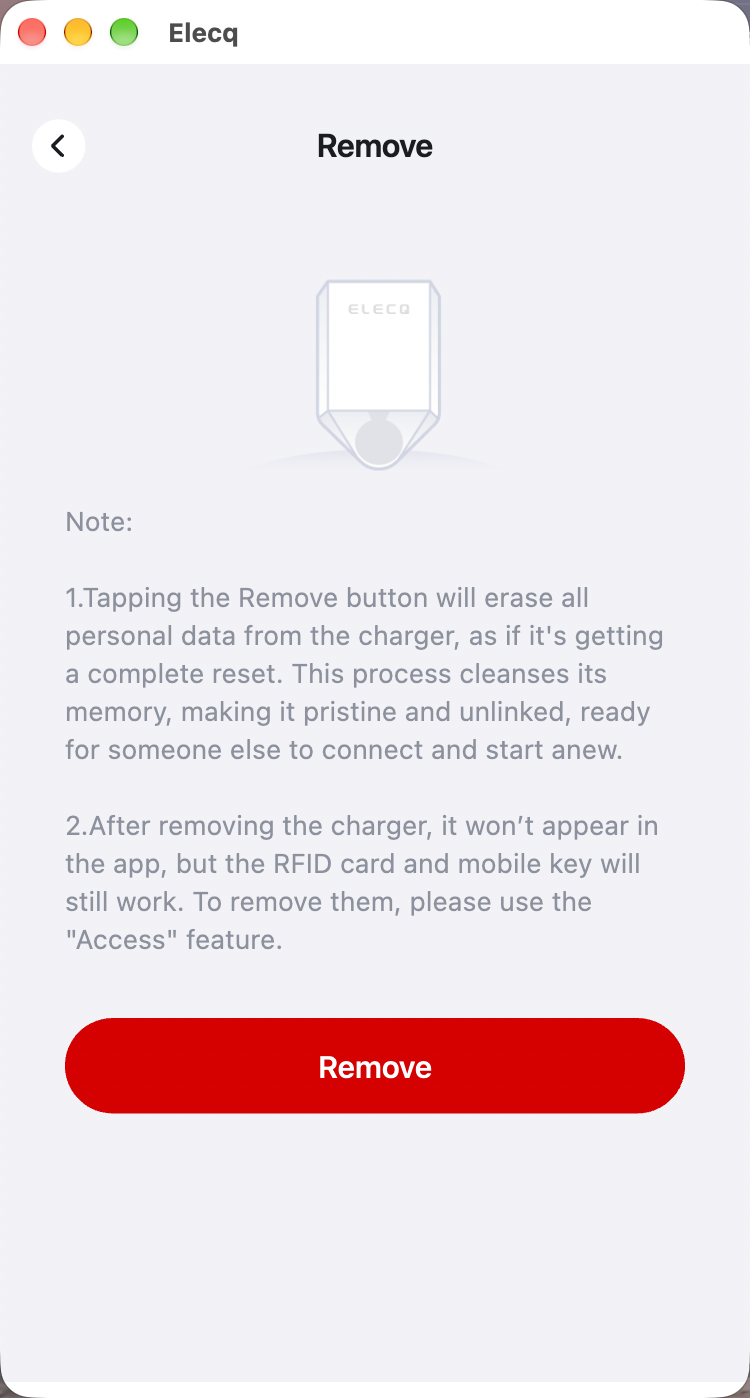
Removing a charger erases personal data stored on it and removes it from your app. The charger can then be linked to another account.
RFID cards and phone keys still work after removal. To revoke them, open My Charger → Access and remove the cards or keys before unlinking the charger.
On the Site tab, tap My Charger.
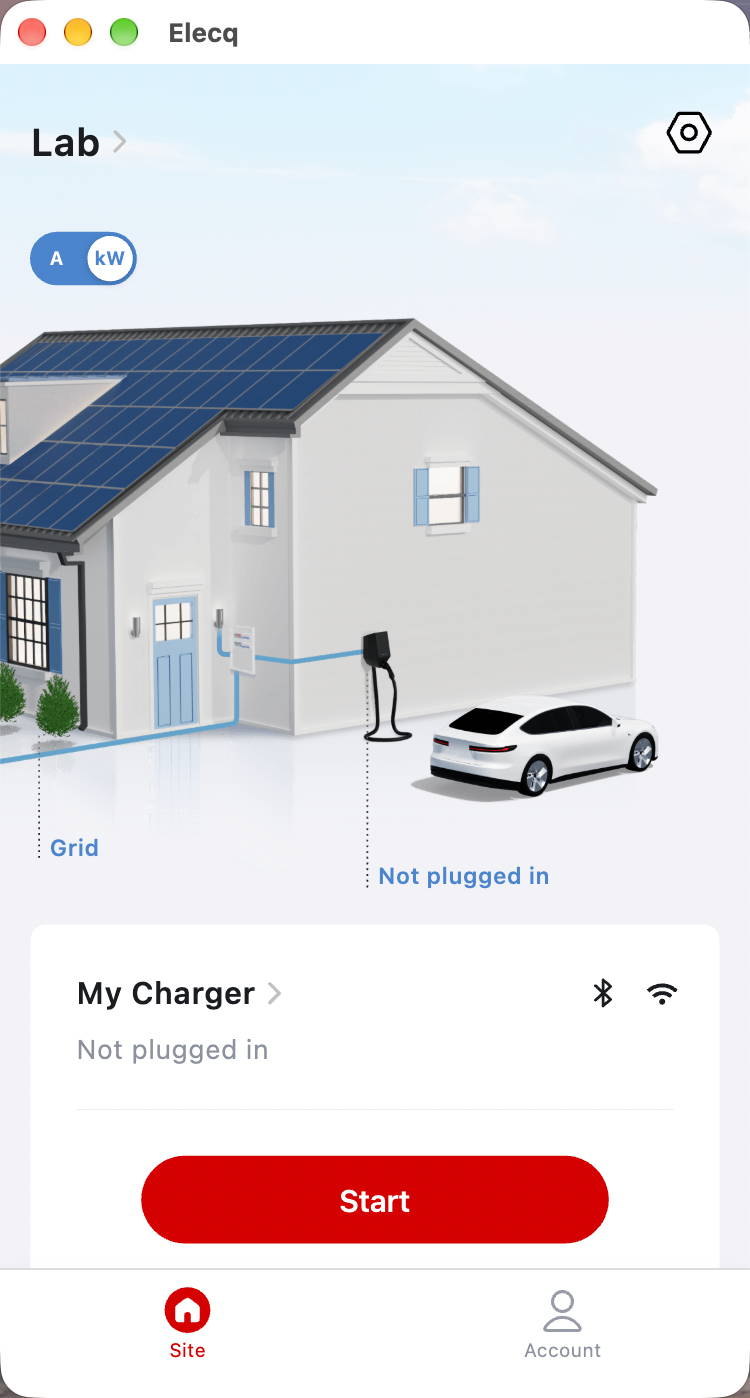
Tap the Settings gear in the lower-right corner of the charger panel.

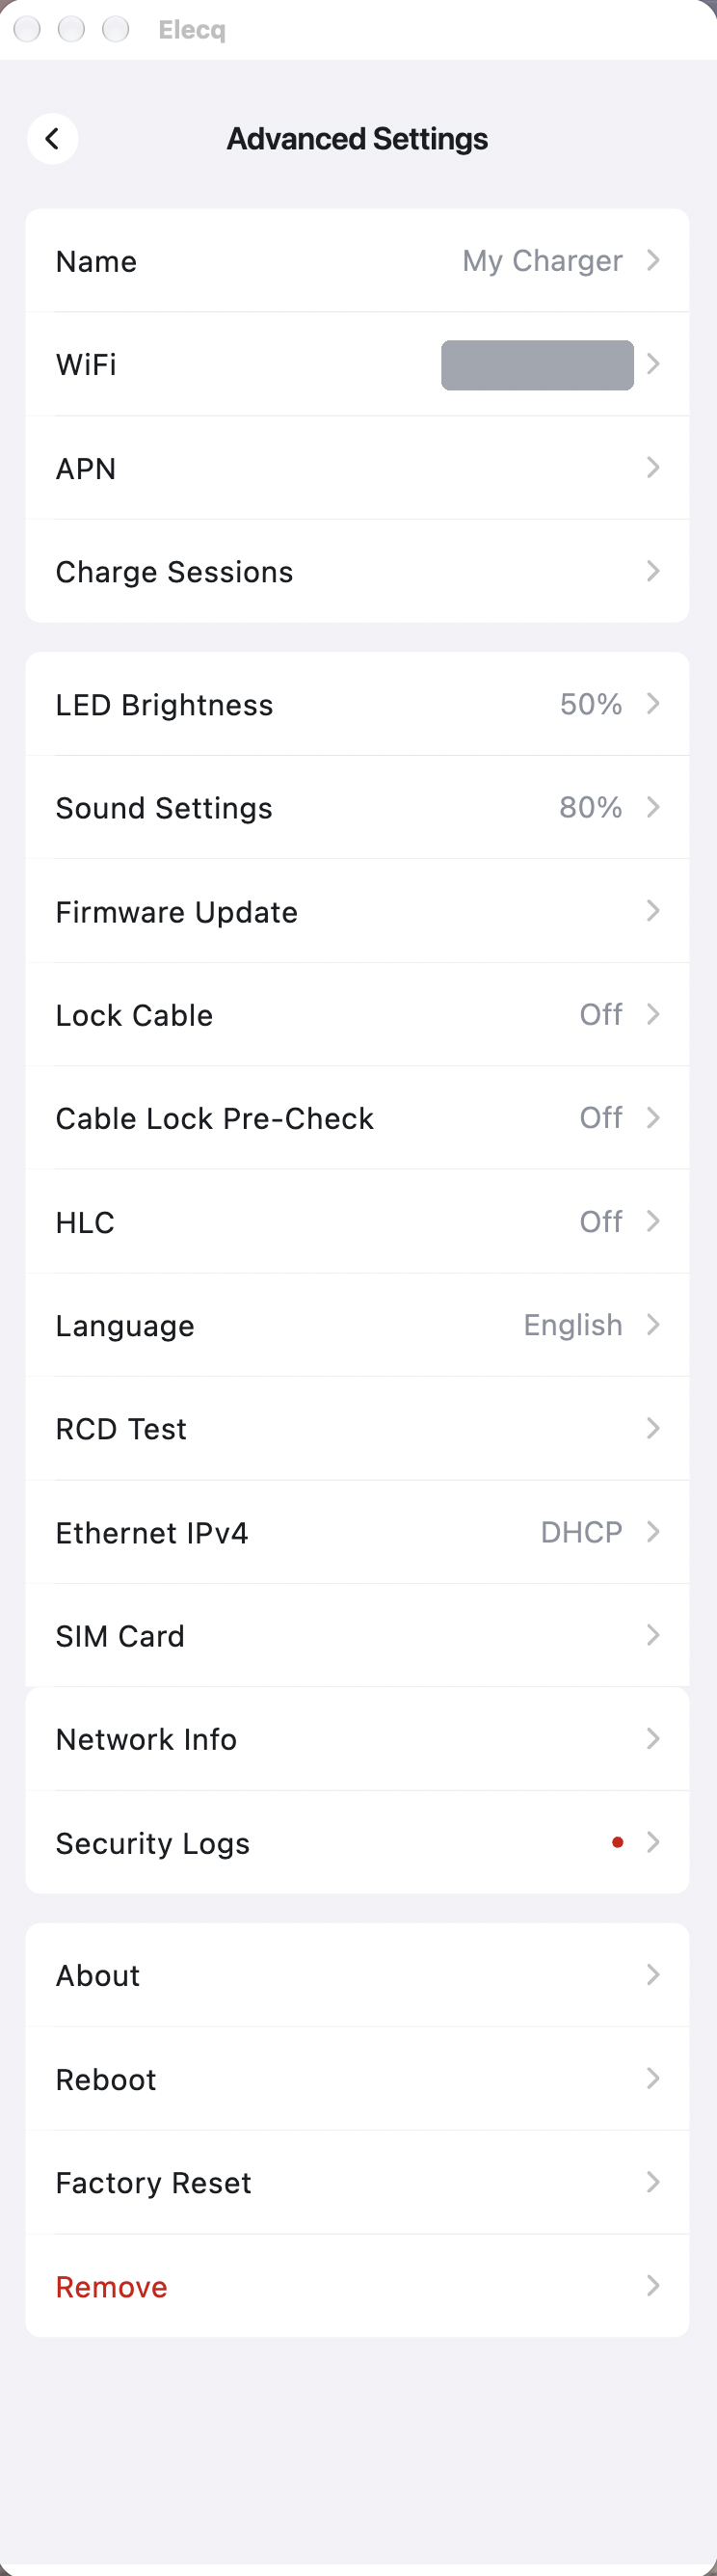
Scroll to the bottom of Advanced Settings. Tap the red Remove entry below Factory Reset.
Read the information on the Remove screen, then tap Remove to open the confirmation dialog.
Tap Confirm to unlink the charger from your account. Tap Cancel to keep it linked.

If your charger is offline, check its network connection or try connecting via Bluetooth from nearby. If a family member already added the charger, ask them to invite you. For more troubleshooting, see the Elecq FAQ.